Finding Your Style – Trillium Study
Trillium Style Study
You can follow along with my project exactly, if you want to, but I encourage you to step into your own exploration. If you mimic my project, you will still learn techniques and looks to add to your exploration, but you will stimulate your own creativity less along the way. Because exploration is a process, neither method is right or wrong, just learn from what you do.
And Make It Yours when the time is right.
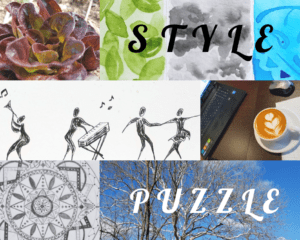
1. Gather pieces of your style, make a collage if you like. The pieces can be pictures, colors, works from your favorite artists, stories, movies, and anything else that you feel represents you. Keep your collage accessible for reference. I have my pictures on a board on Pinterest. Here is a small sample of my own photos and work that I pieced into a collage.
 2. What stands out to you about your choices? What do you like or dislike? Make some notes and keep them for reference throughout the study.
3. Choose a focus. I chose Trilliums because they are an overlooked spring flower. Fun fact: If you pick a trillium, it damages the plant so much that it may take years to recover and bloom again.
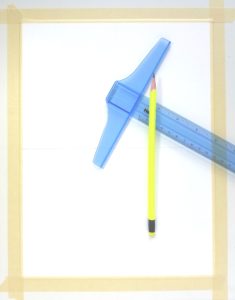
4. Divide a piece of watercolor paper into four sections and tape it down. I love watercolor and ink, so those will be the mediums I use. Feel free to choose whatever mediums or tools you prefer. If you aren’t using watercolors, you won’t need to use watercolor paper.
5. Begin sketching some different styles to get a feel for your subject. Think about the styles you want to try. Do you like a whimsy style? Do you like to draw realistically? Are you prone to abstract? Black and white or color? I find it helpful to write a few notes about what I’m thinking. They keep me focused when I do my finished work. The goal is to have four different styles of the same subject when you are done.
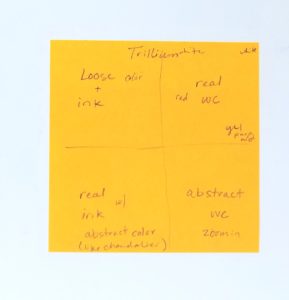
6. When you’re ready, begin with color. I needed to add color in layers.
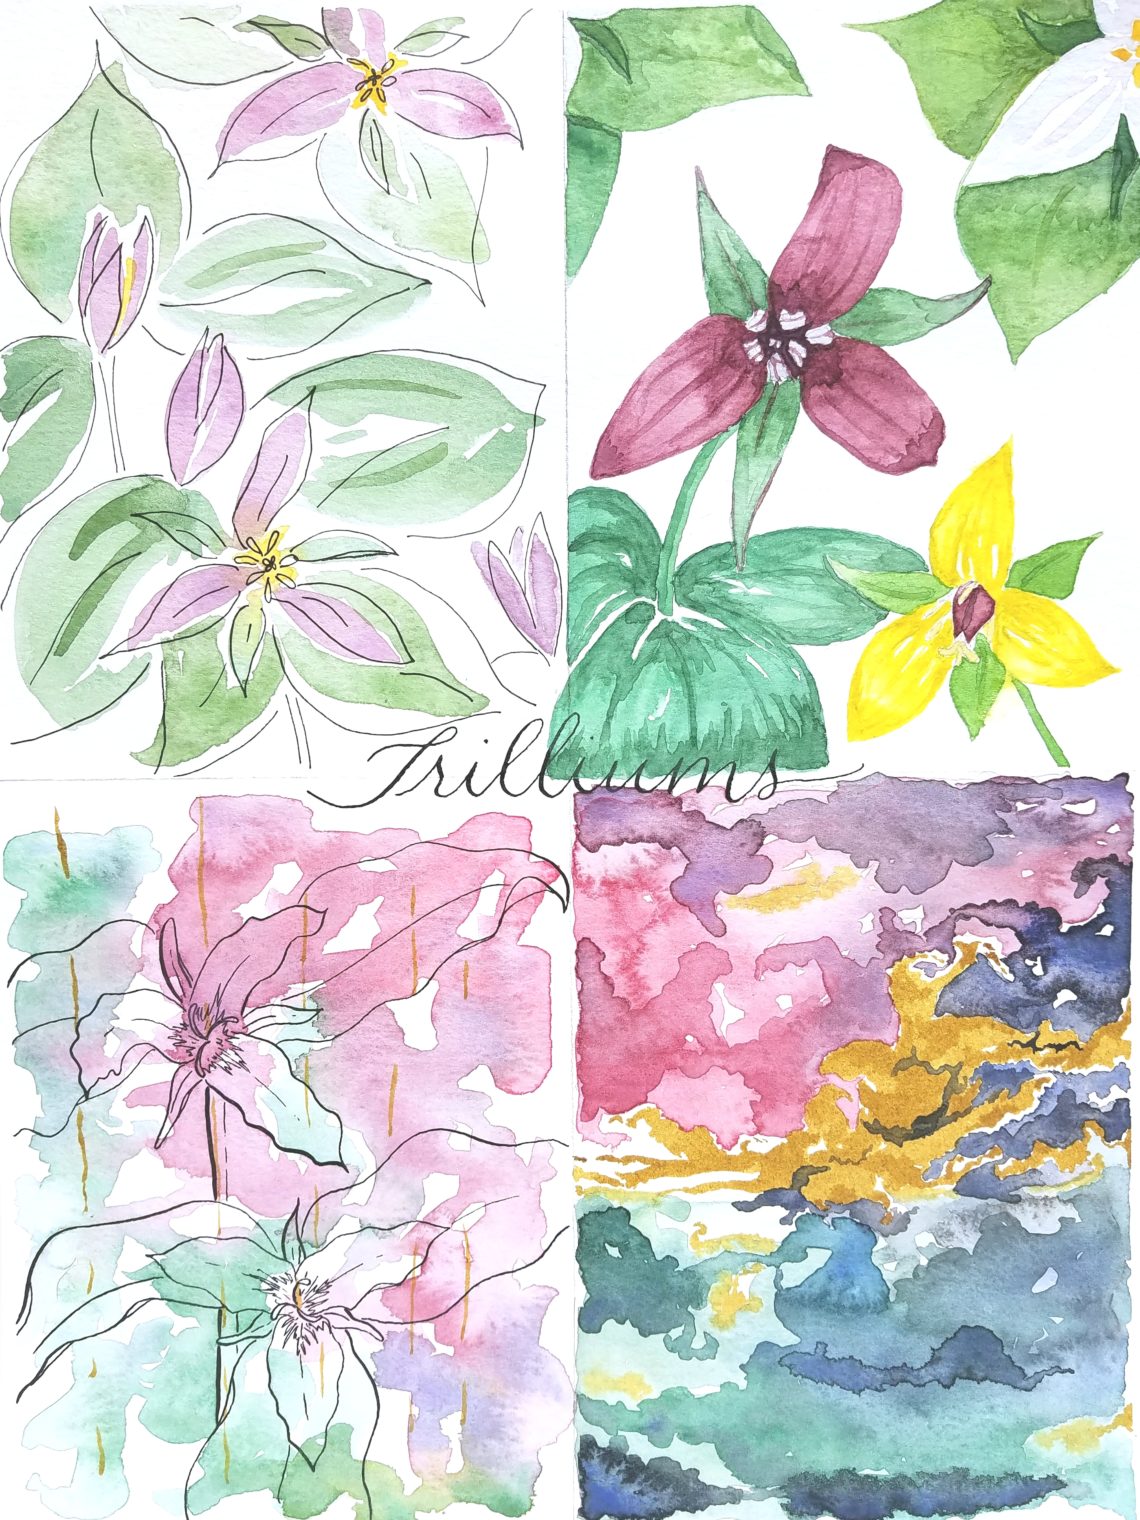
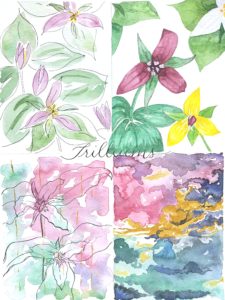
7. Finished product. A trillium in four styles.
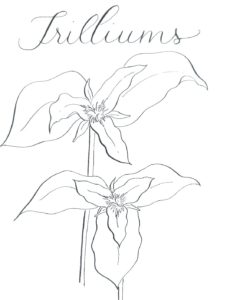
Here’s a trillium printout if you just want to work with watercolor (when using watercolor, you will want to print it on Canson Watercolor 140lb. paper. Some other watercolor papers might be too heavy to use in your printer).
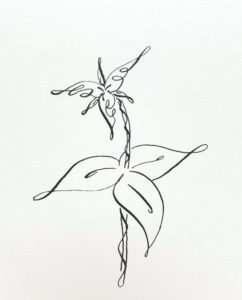
For an extra challenge, make one more style. Try to use a style you don’t typically like.
And remember, post your work on Instagram to #patchesofordinary and tag me @joanneegroff. I’d love to see what you come up with.
Below you will find a breakdown of each style I used.
Style 1, Loose Trillium
1. Tape down watercolor paper. I used Canson 140 lb cold press watercolor paper. It’s fine for practice work, but I would pick a higher quality paper for a finished product you want to display or give to someone.
2. Divide the watercolor into four setions.
3. Reference several pictures of trilliums, chose one of the flower colors and mixed paint to match it. Here is a look at some scrap paper I used to test my colors as I mixed them.

4. Freehand some flower petals, some blooming and some just beginning to open. This is one of the few styles that I try not to sketch in pencil first.
5. Paint the green leaves, some small between the petals and some larger leaves. Most trilliums have leaves and petals in sets of three, so keep that in mind. I have seen a few with only two large leaves. Because I didn’t wait for the flowers to dry, I avoided touching them with the green of the bigger leaves. This time, I wasn’t after a lot of watercolor bleed between colors. The white area in between just adds to the loose look of the piece.
6. Add a touch of yellow to the center of the open flowers. It’s fine if this bleeds a little.
![]()
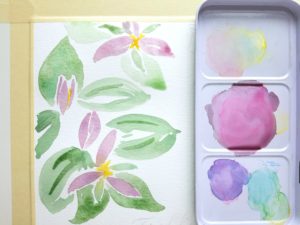
7. Wait for it all to dry. I know. It’s hard but you will avoid ink bleeds this way.
8. Use a micron pen to draw random trillium shapes. Try not to outline perfectly. This style asks you to color outside the lines. Even leave some without lines or try some with partial lines.
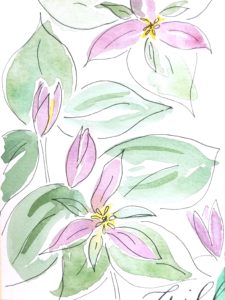
Style 2, Watercolor only
1. On the second section of your watercolor paper, lightly sketch a few trilliums. Keep your pencil marks light so they do not show through your watercolor.
2. Beginning with your lightest layer, add color.
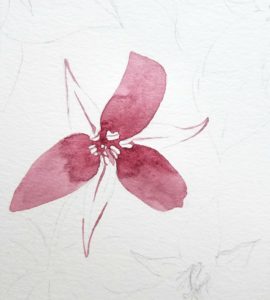
3. Between layers, wait for the paint to dry.
4. Add darker color in areas that need a little shading.
5. Add accent marks.
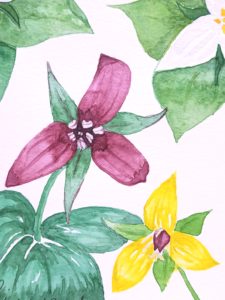
Style 3, Dip Pen and Ink topped with Abstract Watercolor
1. On the third section of your paper, with a pencil, sketch a trillium or two.
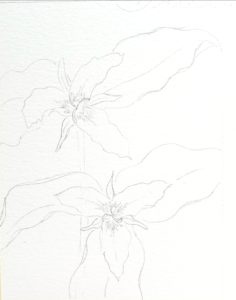
2. Trace over the sketched lines in ink.
3. Wait for it to dry. This can take up to 10 hours depending on the ink you use.
4. Erase the sketch lines.
5. Use leftover colors from the last style to paint randomly with color over the ink. Feel free to use different colors and leave areas of white space. It all adds to the effect of the piece.
6. Let the paint dry.
7. Add broken lines of gold randomly over the watercolor.
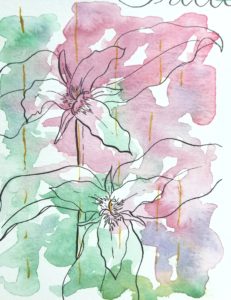
Style 4, Abstract
1. There are no rules.
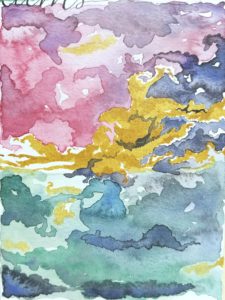
2. I suggest playing with abstract on a different piece of paper to see what you like. I painted this three times before attempting it on my final piece. Here are some of the practice runs.

And the final piece.
