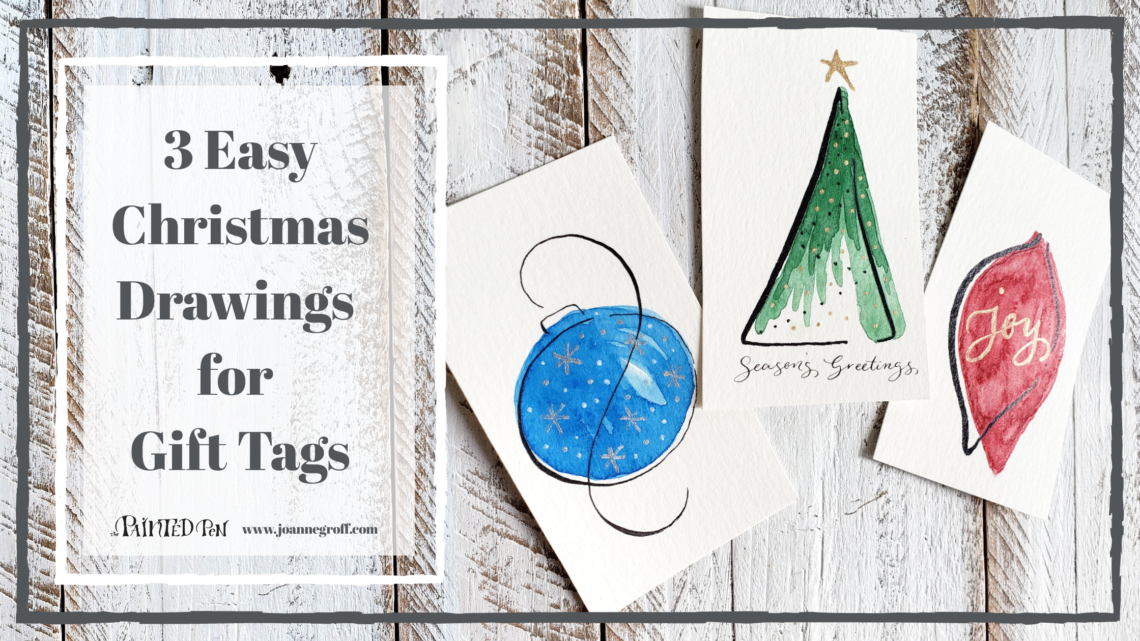
3 Easy Christmas Drawings for Gift Tags
Learn how to draw and paint three different Christmas drawings that you can use on hand made gift tags this year.
Hello, Christmas!
Yes, it’s officially the acceptable time to celebrate and prepare for Christmas. No more “It’s too early grumbles allowed.” Our house is decked in fa la las … since the day after Thanksgiving. Only a few things went up (ahem … were left out after photo shoots) before that. But in all honesty, I think most of November was spent creating designs and projects for Christmas. I don’t mind. It helps get me in the mood for the season.
And it makes everyone a little more jolly when they start humming Christmas carols after they subconsciously hear me doing it.
Where are you on the spectrum? Are you a “Not Christmas again already?!” kind of person or an “I leave my decorations up until March and put them up again after Halloween” kind of person?
Wherever you land, I think you’ll enjoy this week’s tutorial. We’ll draw three Christmas drawings, paint them, and add a little shimmer to each of them. They’ll be perfect for some hand made gift tags on Christmas morning.
Are you ready? (Video at the end)
Gather your supplies.

- Basic calligraphy supplies with Ziller Soot Black Ink
- Basic Watercolor supplies
- Winsor & Newton Cotman Sketcher’s Pocket Box, for red, green and blue colors
- Gold, silver and white gelly roll gel pens
Here are some steps to get you started on your gift tag drawings.

Red Drop Ornament Drawing
Let’s start with the drop ornament. Draw a football or lemon shape. I left an area open with one small dot just for fun. If it helps, sketch the drawing in pencil first. Then go over it with your calligraphy pen, varying thick and thin strokes.
Let it dry. (Ziller ink is dry enough to use with watercolor when it’s dry to the touch. Not all inks are this way.)
Use red paint to paint the first watercolor layer, shaped like a drop. You can fill in the drawing or paint it like I did and offset it a little.
Tap a little plain water onto the one side of the wet paint layer (see first picture). This will encourage it to bloom.

First layer 
Second layer
When it’s dry to the touch, add a second layer of paint (see second picture). This layer is a little darker and a little more defined. I left an area of the first layer show through to give it a highlight. Tap in a little bit more water for those lovely blooms.
Let it dry again.
Now, it’s time to add the lettering. When I use a gel pen to letter, I use a faux lettering technique (to learn more about faux lettering, read Faux Calligraphy). Here’s the idea: a gel pen writes with a monoline stroke (it doesn’t get thicker and thinner like a calligraphy pen), so to make some of the strokes thicker, you need to double them.
Write joy with the gold gel pen. Now, thicken all of the downstrokes. Doesn’t it look like calligraphy?

Monoline Joy. 
Joy in faux calligraphy.
One gift tag done. Just look at that gold shine.

Blue Bulb Ornament Drawing
Draw a circle with a cap and a flourish to make a bulb ornament. Use a pencil first to help you get that circle round.
Let it dry. Then, paint the first layer your favorite blue. Fill the bulb in completely or leave areas of white highlights.
Let the paint dry. Now paint a second layer of blue. Offset the highlights slightly so some white and some of the first layer show through.

First layer. 
Second layer.
Let it dry again. Use the silver gel pen to add star snowflakes and dotted snowflakes. Then, use the white gel pen to fill in with a few more white dotted flakes.

Silver snow. 
White snow.
And another one is done. Look at that shimmer.

Christmas Tree Drawing
Draw a triangle tree, leaving a couple of open areas. Use your calligraphy pen to vary thick and thin strokes. Then add some dotted lights. Let the ink dry.
Choose your favorite Christmas tree green (or mix one like I did with both greens in this set plus a little black). Paint the first layer of the Christmas tree. Leave the ends of the strokes uneven to give it a pine feel.
When it’s dry, paint a second, darker layer. Again, leave the ends uneven.

First layer. 
Second layer.
Let it dry again. Now, add extra lights with the gold gel pen and a star to the top of the tree.
And there you have it! A shimmery Christmas tree.

Now you can paint them with other colors and patterns to decorate your gifts at Christmas.
Here’s that video.
Christmas Drawing Gift Tag Printable

If you prefer to concentrate on painting or you are low on time, I have created printable Christmas drawings on tags. (Available in the Resource Library to all Blots & Jots email subscribers).
Enjoy Creating!

You might also enjoy this DIY wrapping paper tutorial to go with your gift tags.

