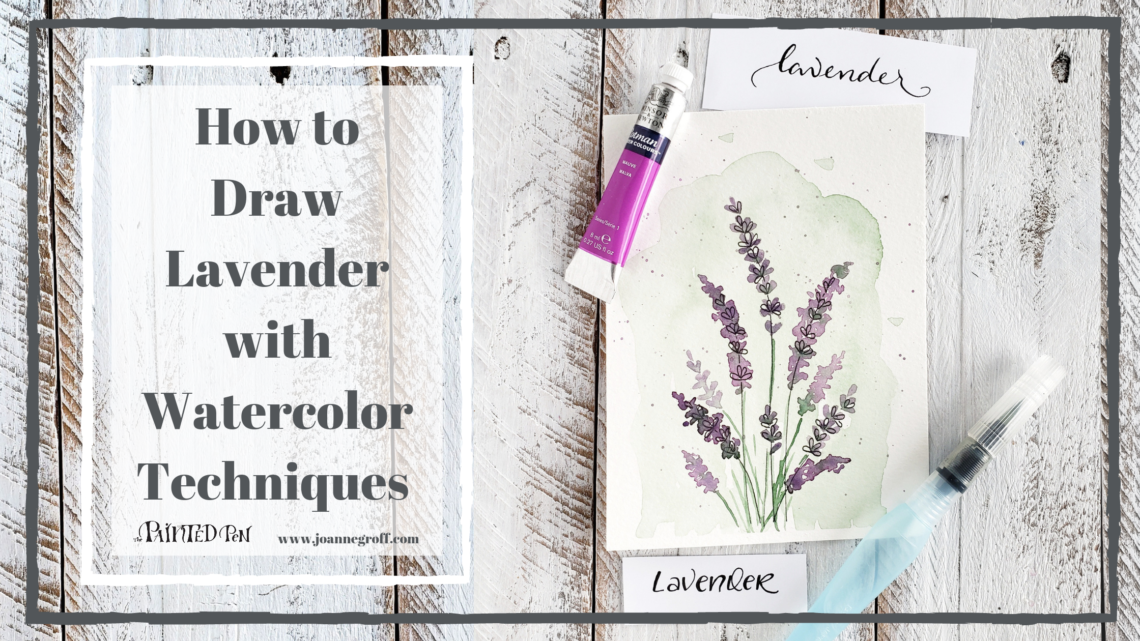
How to Draw Lavender with Watercolor Techniques
Let’s learn how to draw lavender using several watercolor techniques.
I recently tried my hand at a little soap making. My son was brainstorming ways to make extra money. He loves to make things with his hands and came up with the soap idea. I tried and tried to have time to learn about it to see if it was a good option. We ordered some supplies and gave it a go … months later. We tried several recipes and several scents to see what we liked and what we didn’t like.
I am so glad I tried it! We now have soap for the next year (a little overboard? nah!). Homemade soap is so nice on your skin, you can adjust the scent to your liking, and it’s really not that much work. We will do it again. It might become an annual fall project.
What does this have to do with lavender? One of our favorite soap scents is lavender. Not just me! Three guys in the house too. Yes, we made lavender soap, lavender and cedar to be exact. Love the smell.
But it’s not just that, lavender has other benefits here: it brightens the yard and the li’l honeys love its blooms too. It styles a beautiful photo, and it’s fun to draw and paint.
If you want a lavender drawing idea, this tutorial is right for you.
Let’s get started.
Gather your supplies.

- Micron pen
- Basic Watercolor supplies
- Winsor & Newton Cotman Sketcher’s Pocket Box
- Payne’s gray watercolor
- Mauve watercolor
- How to Draw Lavender Worksheets
Keep reading for extra tips and tricks or jump to the video.
Lavender Lettering Warmup
Watercolor and drawing go so well together. Let’s warm up our muscles with a little calligraphy, the faux kind. If you’re new to this style of lettering, read this post on Faux Calligraphy.
Here’s the general idea: you can create calligraphy with any instrument, even a monoline micron pen. You just have to double the thickness of the downstrokes (this might require you to space your letters a little farther apart).
Try it with the word lavender.

How to Draw Lavender
Now, on to the drawing!
Think about what lavender looks like or use these pictures from my small patch of lavender as a reference. Notice the shape of the blossoms, leaves, and stems. Look at the difference between open blossoms and closed ones. Take note of the colors. Are they brighter or darker than you expected?


Here are some drawing ideas to get you started with shapes for petals, stems, and leaves.

Draw your lavender bouquet in pencil first. I drew several lavender sprigs without leaves this time, but if you want more stems showing, go ahead and draw some leaves.
When you are satisfied with your drawing, use a micron pen to go over it in ink. Micron pens are waterproof and work very well layered with watercolors. (If you want to learn more about testing ink with watercolor, read Ink and Watercolor – Testing Ink with Water on a Dragonfly Drawing.)

When it’s dry, erase the pencil lines.
Watercolor Techniques
Loose Watercolor Background
Use green with a lot of water to paint a loose watercolor background. This watercolor technique is all about keeping things loose. Make it as splodgy as you want to or even paint the whole page with it.
Let it dry completely.

Watercolor Drop Petals
For the next layer, we’ll work in more concentrated colors (less water or more paint).
We’ll use two different kinds of lavender petals, one in a drop shape and another with the lazy stippling watercolor technique.
Offset the watercolor with the drawing. The goal is to keep it loose.
Start with purple paint and the drop shape. I mixed my own purple using mauve and a touch of payne’s gray.
A waterbrush works really well for this technique because it keeps a nice point and has a good amount of spring to the bristles.
It might be helpful to practice this on a scrap piece of paper until you get the idea. Push your brush against the page, trying to keep the point still. You should end up with a pointy end and a rounded end, just like a drop.
After you paint a few, clean your brush and grab a touch of green. Tap it lightly near the base of the blooms. This will be where the blooms touch the stems. It only takes a little bit of green.
Continue alternating between purple drops and green taps down the stem until you are satisfied with the blooms on that sprig. Then, paint a few more sprigs. Leave some lavender empty for lazy stippling.

Lazy Stippling Petals
The lazy stippling petals are made to look like they are in the background and a little blended. To create lazy stippling, fill your brush with purple paint first. Tap, drag, and move your brush randomly over and around the lavender drawing. No need to try to paint petals, your mind will see it all as lavender when it’s finished. (To learn more about lazy stippling, read How to Use Stippling for Watercolor Texture.)
Just like you did with the drops, alternate with purple and tapping in a tiny bit of green while it’s still wet.

Add a few lazy stippling lavenders where there are no drawings just to add some more variation.
Let it dry completely.
A little purple splatter is always fun (another watercolor technique! If you want to learn about a few more, read Watercolor Techniques.).
And it’s finished! Go ahead … paint it again.

I hope you had as much fun painting this as I did!
Watch How to Draw Lavender with Watercolor Techniques
Enjoy the process,


2 Comments
Marta
Thank you for this film, I’ll try paint my own lavender with your instructions 🙂
Joanne Groff
I hope you enjoy painting lavender as much as I do!