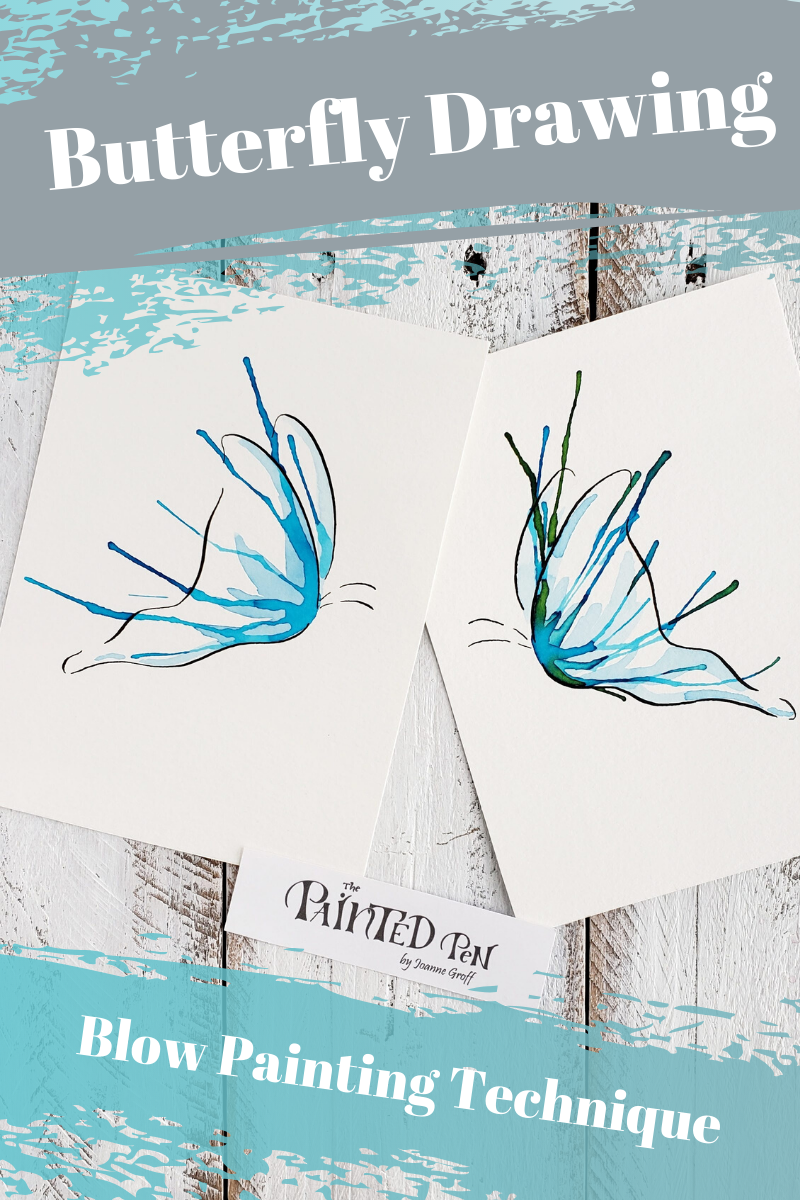
Butterfly Drawing
with a Blow Painting Technique
What an unusual time we face! I hope you all are adjusting to the change of plans this virus has caused.
I try to look at the bright side of things. My kids are home; I always like that despite the more frequent interruptions and extra noise. I receive it as a reminder of the gift they are to me. The weather has been inviting. That means, we can go outside to get away from the cooped up feeling that comes with having nowhere to go and not much to do. Luckily, we love hiking and have access to many places where we can disappear into the woods away from people.
What are you doing to stay positive? I hope you are healthy and able to weather this storm. My heart goes out to all of you.
Maybe a tutorial will add a little sunshine to your day and give you something to do if you have extra time on your hands.
Follow four easy steps to make a butterfly drawing. Then, watch me as I demonstrate a background watercolor layer topped with a blow painting technique. The effect is colorful and quite fun.
What you need:
- Watercolor paper, taped down
- Water and paper towel
- Calligraphy pen and nib
- Sumi ink
- Round paint brush
- Colors of your choice, ink or watercolor (I used Noodler’s Navajo Turquoise Ink and added a touch of De Atramentis Mahatma Gandhi to create a second color … green)
- Straw
Butterfly Drawing
Reference this picture as you sketch your butterfly drawing.

- Start with the top of the wing.
- Draw a wavy line down and slightly to the right.
- Leave a small break in the line, then draw a smooth line to connect the top line to the tail of the butterfly wing.
- Add the antennae and a second wing.
- When you finish drawing in pencil, use a calligraphy pen to commit your butterfly drawing to ink. Try to vary the thickness of your strokes to add visual appeal.

Sketch your butterflies in pencil. Try several different designs. 
Use a calligraphy pen to add ink to your butterfly sketches.
Add the Color
- I like to start with an abstract watercolor background a shade lighter than my final color. This background can fill in the butterfly shape, or you can pick and choose areas to add color to while leaving other areas white. I like to jump right into backgrounds without much plan or thought … let the tip of my brush do the thinking.
- Let it dry completely before adding the next layer.
The Blow Painting Technique
- Fill your brush with ink or watercolor a shade darker than you used for your background. Line the inner edge of the butterfly’s wing with color and a good amount of water. You want to have enough water to spread across the page when you blow. If you don’t have enough water, the effect will not be as good.
- Use your straw to blow the puddle of color and water. Angle your straw toward the direction you want the color to spread (this is not foolproof, as the spreading has a mind of its own, but it does help).
- If you want more splash, add more water and color to the wet edge. You can make little points in the color to help direct the splash, as shown in the video.
- Optional. Add another color to the tips of the splash while it’s still wet to make a color blend. I added a little green to the second butterfly in the video. This blend only works if it’s still wet when you add the second color.
- Let it dry.
- If you want to add another layer of blow painting or another color of splash, add it now. I added a second layer to the second butterfly.
You’re Done!

*Yes, you will get a little bit of moisture from blowing through your straw (notice the clear droplet partway through the video), but don’t worry, the butterflies won’t mind. Just mop it off the paper with your paper towel and continue on.
Now, you can try many different colors and sizes of butterfly drawings. Use them to decorate your home, add to a card that you send to a friend, or to add some pizzazz to a business design. Design your heart out with these colorful butterfly drawings.

Write it. Draw it. Dance it. Dream it.
And … Happy Creating!

If you want to try some different watercolor techniques with these butterfly drawings, check out this post for ideas, Watercolor Techniques.
You can also find me on Instagram and Pinterest. Follow along to see a portfolio of ideas and projects.
