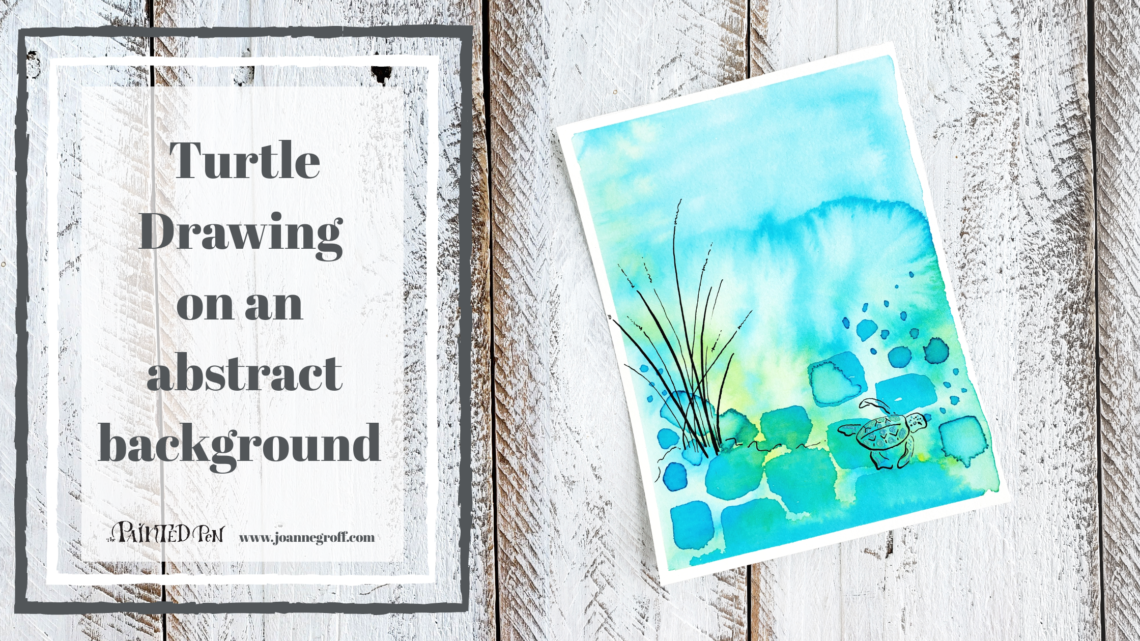
Calligraphy Turtle Drawing on an abstract background
In this tutorial, we’ll create a turtle drawing and some beach grass on an abstract background with a turtle shell design.
We might as well finish the summer keeping with our beach theme. We’ve come this far. And by summer, I mean the days leading up to the return to school. My children are still young enough to measure life by school. It’s only natural that I do too.
As we walked through the tutorials from the past couple of months, we’ve drawn a beach scene, a sand castle, and lettered a beach quote but countless sketches have sprouted from my pen in search of each tutorial. These drawings include many things you find at the beach: shells, seaweed, and sea animals.
This week, I wanted to make a drawing of one animal you might find at the beach if you arrive at the right time and look carefully.
A turtle!
We’ve been fortunate enough to see a nest one time (We only knew it was a nest because it was protected with a fence and labeled with a warning to keep away. Still, it was fascinating!).
Let’s draw our turtle near a little beach grass and on top of an interesting abstract background that resembles a turtle shell.
You can watch the video tutorial here and/or read through the steps below.
Relax and have fun with it.
What you need:

- Basic watercolor supplies
- Basic calligraphy supplies
- Noodler’s Navajo Turquoise Ink
- Noodler’s Ottoman Azure Ink
- Winsor & Newton Cotman Lemon Yellow Hue
- Ziller Soot Black Ink
- Dr. Ph Martin’s Iridescent Crystal Mint
- Dr. Ph Martin’s Iridescent Sequins Blue
On to the tutorial!
Abstract Background
Start the abstract background with the wet on wet watercolor technique, using plain water.
Tap a little turquoise ink into the water. A little goes a long way! Keep adding ink and smoothing it around until the background is evenly colored.
A larger size brush is helpful for this kind of background, but as you see here, you can use any size.

First, use plain water to wet the background. 
Tap turquoise ink into the wet background. 
Add more ink and smooth it around until it’s even.
Next, and while it’s still wet, tap in spots of yellow paint. You want the yellow to blend with and move the turquoise around, so dilute it with water first.
Rinse your brush and drop plain water on a few yellow areas to help those areas bloom. (I love a good bloom on a background.)

Tap yellow paint into the wet background, starting at the bottom corner. 
Drop some plain water onto some of the yellow to help it bloom.
Let your first layer dry. It’s okay if it’s slightly damp at the edges, but most of it should be completely dry.
Using turquoise ink (add a little bit of azure ink if you want it darker) paint block shapes onto the bottom of the first layer of the abstract background. Vary the shapes and sizes of the blocks. It’s okay if the shapes bleed into the first layer a little. It just adds to the abstract look.

Paint loosely shaped blocks on top of the first layer of the abstract background. 
Vary the Sizes of the blocks to make a turtle shell pattern on the bottom of the abstract background.
There. Your abstract background is finished. Set it aside to dry completely.
Beach Grass
Using your calligraphy pen and Ziller Soot Black ink, draw beach grass on the left side of the background.
Make some of the grass thick by applying pressure to your pen.
Draw some thin grass by applying less pressure to your nib. It might even help to turn your pen sideways to make a lighter stroke.
Last, add a thin squiggly line to look like seed on the top of some of the beach grass stems.

Draw some thick beach grass. 
Add some thin beach grass. 
Top some of the stems with grass seed.
Turtle Drawing
Now, for that turtle drawing. Here are a few steps to drawing a turtle.

Now it’s time to add a turtle drawing to your abstract background. Use your calligraphy pen and vary the thickness of some of the strokes.
When your black ink has dried, fill in the turtle shell blocks on the little turtle’s back with green and blue iridescent ink to make it shimmer.

Use iridescent ink to make the turtle shell shimmer. 
See that shimmer on the turtle drawing?!
And your turtle drawing on an abstract background is finished! Frame it and hang it up to brighten your room or send it to a friend. It’s sure to brighten someone’s day.

Happy creating!

Do you want to print the steps, background and a finished drawing to use as you paint? Find How to Draw printable worksheets for Drawing Turtles in the products section.


2 Comments
June
That is another beautiful piece of art again! You make it look so easy. Thank you Joanne sharing you gifted talent with me each time you blog.
Joanne Groff
Thank you, June! That’s very kind of you. So glad you enjoyed the tutorial! ?