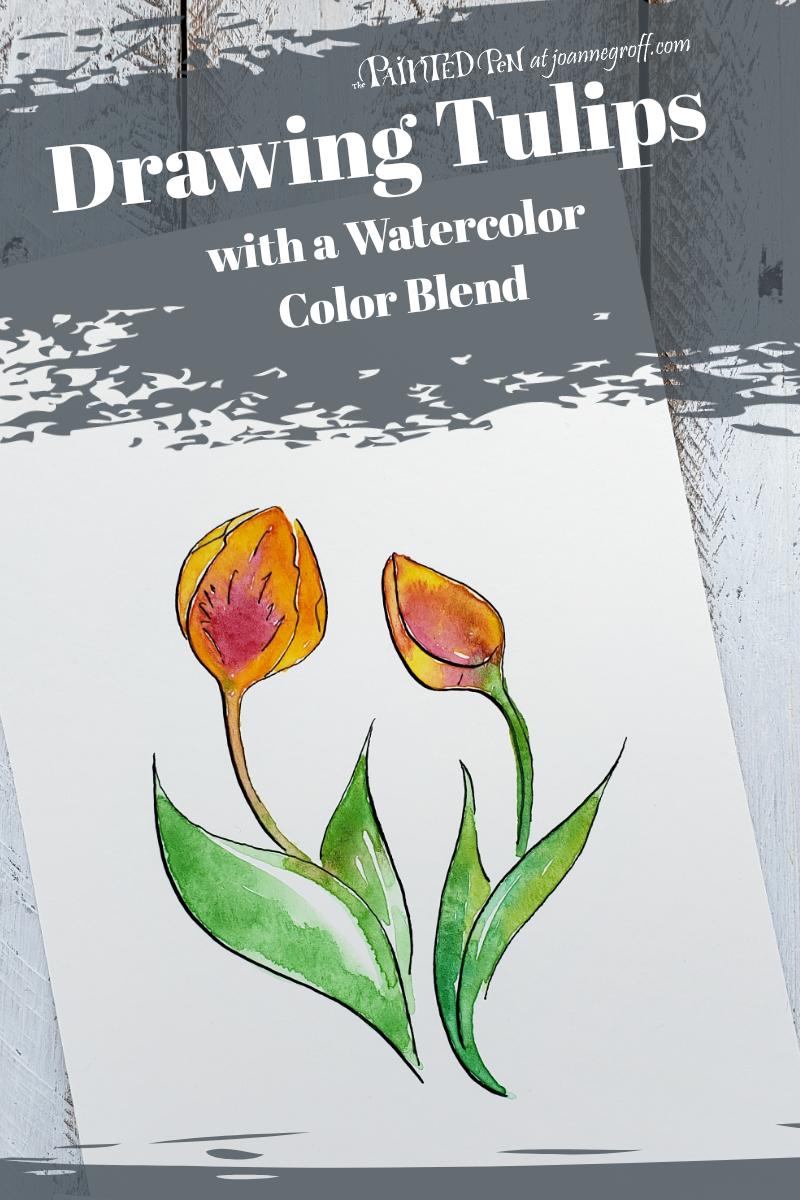
Drawing Tulips
with a Watercolor Color Blend
Drawing tulips doesn’t have to be complicated to be beautiful. In fact, minimal design can make the most memorable impact because of its simplicity.
In this tutorial, I’ll show you how to draw a tulip in a few easy steps, then we’ll add a watercolor bleed color blend similar to the one we used with shadow lettering in the last tutorial. See the last tutorial here: Tulips Lettering.
Are you ready to explore tulips?
What you need:
- Watercolor paper
- Water, paper towel, and masking tape
- Round paint brush
- Winsor and Newton Cotman Pocket set (I used Cadmium Yellow Hue, Alizarin Crimson Hue, Viridian Hue and Sap Green from this set)
- Calligraphy pen and nib
- Sumi ink
Drawing Tulips
Sketch a few different ideas until you find a design idea that appeals to you. Use this as your warm up. A few practice drawings always help me even out my strokes and get a feel for what I want a project to look like.

Follow the steps in the picture below to draw your own tulip. Sketch your tulip drawing in pencil first. Now, is the time to draw, erase and redraw.

Trace over your sketch using your calligraphy pen and ink. Vary the thickness of your strokes to add shadow and contrast to your drawing.

Let it dry completely. Then tape your paper to a flat surface.
Watercolor Bleed Color Blend
Last week, we learned about blending yellow and red to make a watercolor bleed color blend. We’ll use that same idea to add color to these tulips.
When trying to make a watercolor bleed color blend, paint an area with one color. Close by, paint an area with another color. Leave a little space in between the colors. Then, slowly work one color closer to the other color until they barely touch (both colors need to be damp or wet, not dry). Stop painting and let the colors do their magic.
Here is the blending in action if you need a quick visual review.
Putting Them Together
Below, I’ll show you the whole process, from tulip drawing to color blend. Feel free to use your favorite tulip colors to give your tulip drawing an extra special feel.
Let it dry and you’re done!

Happy Creating! I hope it brightens your day!

If you want to try another fun tulip drawing tutorial, check out this post from last spring. Tulips must come up annually here too.
Follow me on Pinterest to see a portfolio of design ideas. And don’t forget to sign up for Blots & Jots to get updates on new watercolor and lettering tutorials and products.

