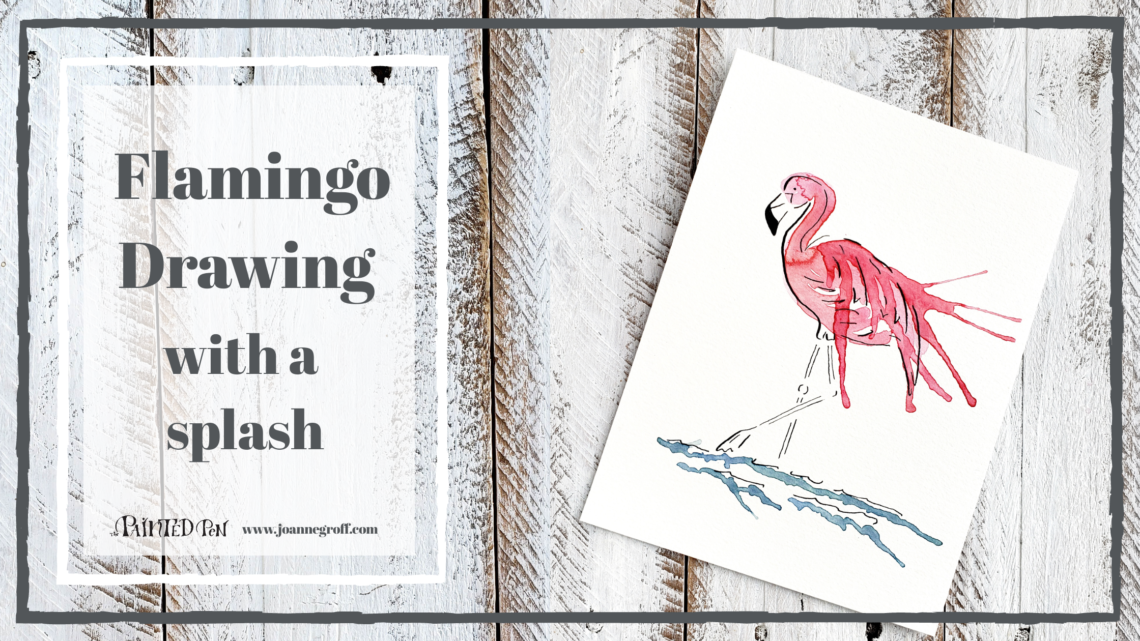
How to Make a Flamingo Drawing with a Splash
Make a flamingo drawing with your calligraphy pen. Then add color with a watercolor splash.
Over the last couple of weeks, I’ve been all about pink, green and blue.
Why?
I had a request for some artwork, a flamingo and a dragonfly. I love drawing dragonflies, but why had I never thought about a flamingo drawing?! Might as well stay with the pink for a little while longer.
So, while I was drawing flamingos in different poses and painting them in different styles, I decided that a flamingo drawing tutorial would be the perfect end to summer drawings. Shall we take one more trip to the beach? It might be the last for a while.
Here’s the video. I’ll break it down in picture form with hints below.
What you need

- Basic Watercolor supplies
- Basic calligraphy supplies with Sumi ink or Ziller Soot Black Ink
- Winsor & Newton permanent rose watercolor paint (or your favorite pink)
- Lemon watercolor paint (or your favorite yellow)
- Blue (Red Shade) watercolor paint (or your favorite blue)
Flamingo Drawing
I always start with a pencil. You can follow these steps to sketch your flamingo drawing.

When you have the sketch the way you want it, trace over the lines with a calligraphy pen and ink. Always remember to mix your strokes, some thick and some thin.
I used sumi ink because I love the look, smell and feel of it, but it takes a long time to dry fully if you want to paint watercolor over it (learn more about ink drying in Ink and Watercolor testing ink with water on a dragonfly drawing). If you don’t want to wait several hours, use Ziller ink. It’s ready for water as soon as it’s dry to the touch.

Use a pencil to sketch the flamingo first. 
Trace over the pencil lines with a calligraphy pen and ink.
Let it dry completely.
Pink Watercolor Background
When it’s dry, paint the first layer of your watercolor background in pink.
Then, while it’s still wet, tap in a little orange pink or deep coral at the edges (Mix a tiny bit of yellow into your pink to get orange pink. You want it to stay mostly pink.).
Hint: The colors will blend as long as you add the second color while the first color is still wet.

Paint the first layer of watercolor using pink. 
While it’s still wet, tap in a little bit of orange pink.
Let it dry completely.
A Splash of Pink
Paint curved lines over the first layer of watercolor. These lines will give the appearance of loose feathers.
Use more water than you think you need to paint these lines. Then, use your straw to blow the watery paint across the painting, creating a splash.
Hint: Turn your paper, if it makes this technique easier.

Paint curved lines with lots of water. 
Use your straw to blow the paint, creating a splash of feathers.
Continue adding paint/water to your flamingo drawing and using your straw to blow the paint until you’re happy with the flamingo feathers.
Hint: Paint a path with your paint brush to guide your splash and remember to point the straw in the direction you want the paint to splash.

Use your paint brush to make paths for the splash to follow. 
Blow the paint and watch it splash across the paper.
A Splash of Water
While the flamingo is drying, you can paint a splash of water at its feet.
Use lazy stippling (learn more about this watercolor technique and others in Watercolor Techniques) and blue paint to create a water effect. Then, use your straw to splash the paint across the paper.

Use lazy stippling to add color to the water. 
Blow the blue paint to make a water splash.
Let it dry completely.
And you’re finished! Now you have a flamingo drawing with a splash. This painting made my day brighter … I hope it did the same to yours.

Try different watercolor techniques on your flamingo drawing. Each one will add a pop of color to your life.
Happy Creating!

I publish a tutorial every other week. If you want them delivered to your inbox when they go live, sign up for Blots & Jots, bi-weekly emails with watercolor and ink articles and tutorials, shop updates, freebies and more. Oh, and you’ll also get access to the Resource Library and the freebies there when you do!
Thanks for reading!
If you want ideas for other splash projects, your might like these posts:
Joanne Groff
Just a brainy creative with a fascination about how people think and understand. I use watercolor and letter design to encourage connection ... with self, the environment, and especially the people who live there.

