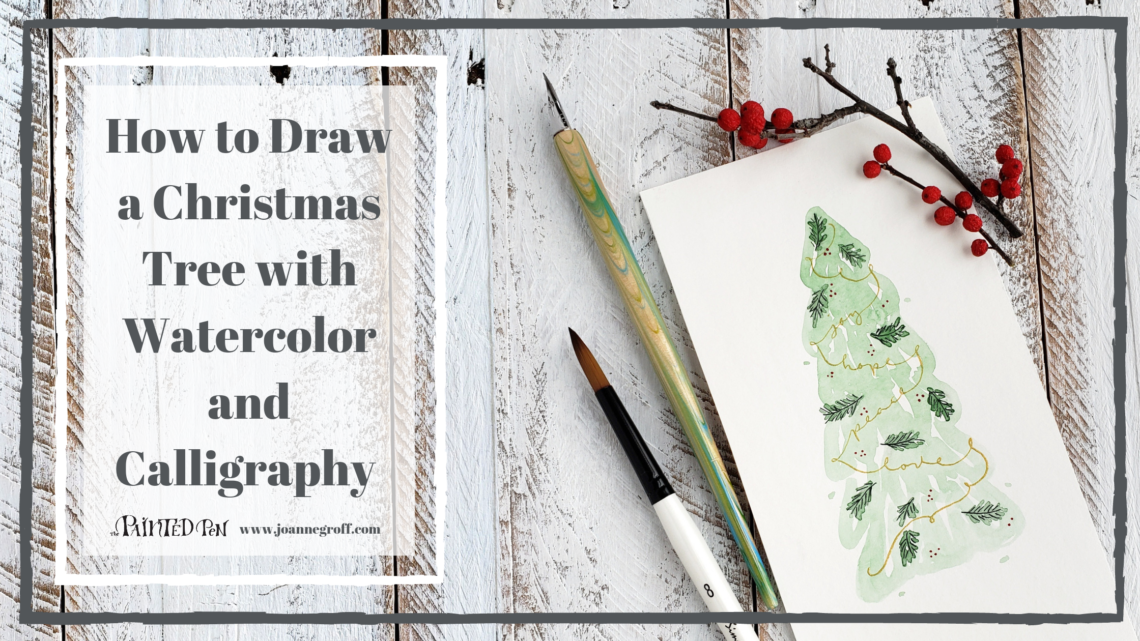
How to Draw a Christmas Tree with Watercolor and Calligraphy
Let’s make a Christmas tree drawing with watercolor and calligraphy elements because what’s Christmas without a tree … or two … or three?
Sometimes, these tutorials come together weeks ahead of time. And sometimes, they’re reinvented during the planning process. This one was both. I had a plan in October for a lovely Christmas tree tutorial.
I really did like it. And I really did draw it. But it was also time-consuming. In this space, I try to keep the tutorials simple and non-threatening, so as I readied to record the process for you, I changed it. Completely.
Welcome to the new Christmas tree drawing tutorial. I hope you enjoy it.

Gather your supplies:
- Basic calligraphy supplies with Sumi Ink
- Basic Watercolor supplies
- Winsor & Newton Cotman Sketcher’s Pocket Box, to mix your favorite pine green
- Bombay red ink or red watercolor
- Dr. Ph Martin’s Iridescent Brass Ink
Let’s get started.
Jump to the video at the end of the post or read on for the extra details.
Here are some drawing ideas to get you thinking before we start our first layer.

Calligraphy Ribbon
Start with the brass ink layer to get a feel for the calligraphy ribbon before you paint the tree.
I was concerned that the green paint on top of the gold brass would tint the gold ink, but it seemed to work just fine. You might get a slightly bolder gold if you draw your calligraphy ribbon on top of the watercolor background (see hint below).
Use a pencil to sketch out your calligraphy ribbon first. Then, you can tweak it until you like it. This helps your muscles warm up to the shapes and movement before you trace over it with ink.
Keep your ribbon lettering loose and thin to allow it to flow over the tree. Use words that remind you of Christmas. I always associate peace, hope, joy and love with Christmas. But you could easily dress your tree with merry & bright, happy holidays, baby Jesus, or any number of other words that mean Christmas to you.
Hint: You can definitely start with the watercolor layer and add the brass ink on top. Dr. Ph Martin’s ink works fine on top of watercolor. Sumi ink is less suitable for working on top of watercolor. If you draw your ink layer last, I suggest you use Ziller Soot Black Ink instead of sumi ink. To learn more about using ink with watercolor, read Ink and Watercolor, testing ink with water on a dragonfly drawing.

Pine Branches
Next, draw a few pine branches with needles from different angles. You only need a few of these, as the green tree background will fill it in and make it look like a complete tree.
Don’t forget to erase your pencil lines when the ink is completely dry. After you apply the watercolor, you will not be able to erase the pencil.

Christmas Tree Watercolor
Now, it’s time to give the tree drawing a little more personality. Think about how you want your tree to look. I love a loose feel, so I’ll paint my tree with a loose, pine-colored background. You could just as easily paint branches on your Christmas tree.
When painting loosely, leave some areas of white to add contrast and make it more interesting. It will also give the illusion of seeing through the branches.
Finally, add a few drops of paint at the edges.

Let it dry completely.
Add some extra green to your pine branch drawings to give them a little more depth.

Red Berries
Red berries are an essential part of Christmas for me, so we’ll add a few to break up the green of this Christmas tree drawing. Scatter them here and there in small clusters.
And … you’re finished!

Look at that shimmer.

Here’s the tutorial video.
I hope this tutorial gets you feeling a little more like Christmas.
Enjoy your time creating!

For more DIY Christmas ideas, read 3 Easy Christmas Drawings for Gift Tags and Splatter Wrapping Paper with Christmas Phrases.

