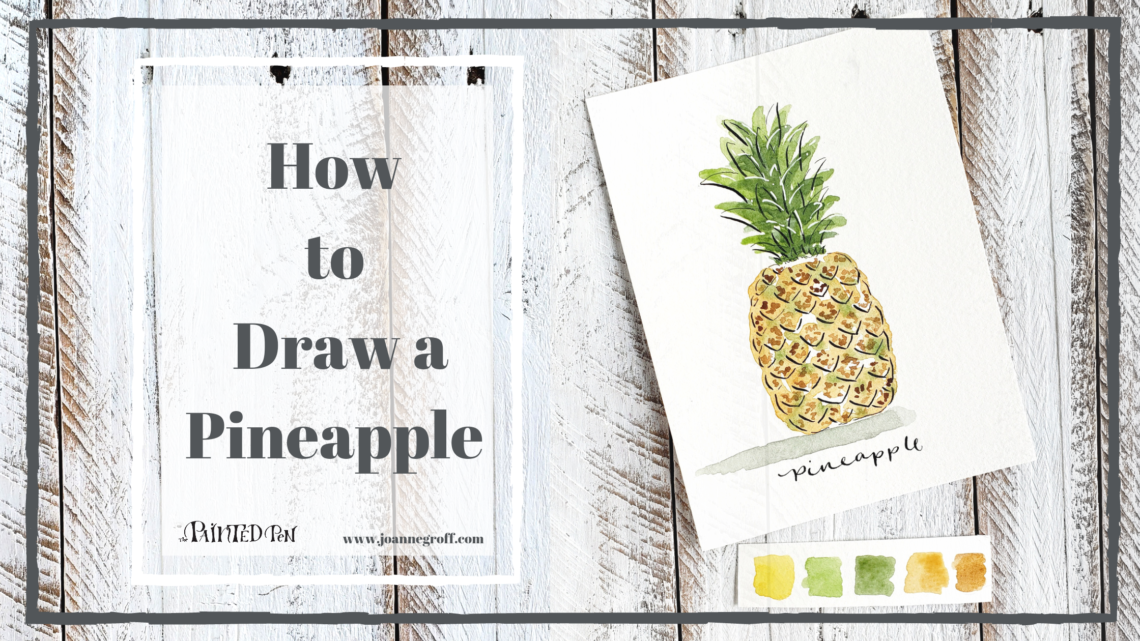
How to Draw a Pineapple
Have you ever wondered how to draw a pineapple using watercolor and a calligraphy pen? Wonder no longer! This tutorial is just what you need to get started on your pineapple drawing ideas.
For me, seasons tend to carry themes. Where I live, we get a good dose of each season … frigid and snowy winters, hot and sticky summers, blooming springs, and breezy falls full of color. When the cold of winter settles, I think of snowflakes and snowmen. Spring weather has me dreaming of bright, beautiful blooms. Fall fills my thoughts with falling leaves and hot drinks. And summer … brings anything ocean, sand, and sun.
As each season passes, a couple ideas grow into many ideas until they threaten to spill over into the next year. Right now, we’re in the middle of summery ninety-some-odd degree days when the pool invites and everyone looks for ways to “chill.”
Maybe that’s why I’m dreaming of the tropics lately and summery, tropical drawings keep coming to mind.
Why don’t we just go with that theme? Let’s draw a pineapple while dreaming of those cool, tasty, sweet drinks and fruit salads it can make.
Gather your supplies.

- Basic calligraphy supplies with Ziller ink
- Basic Watercolor supplies
- Winsor & Newton Cotman Sketcher’s Pocket Box
- Lamp black, optional for mixing
- White gelly roll pen
Keep reading for extra tips and tricks or jump to the video.
Draw a Pineapple
Think about the shape of a pineapple. The top is full of spiky leaves, and the bottom is diamond patterned and rough.
Here are some steps you can use as you draw a pineapple. I almost always draw in pencil first, so my muscles can become familiar with the shapes before I commit them to ink.
(If you want printable steps and a look at the finished drawing, you can use these How to Draw a Pineapple Worksheets.)

Add some pineapple lettering or calligraphy to to bottom of the drawing just for fun.
When you’re ready, go over the pencil in ink. Vary the thickness of the strokes to add a slight shadow to some areas and a lighter highlight to other areas.

Watercolor Background
When the ink has dried completely, you’re ready for the first layer of watercolor.
Choose a few colors to use for your pineapple color palette, or mix a few of your own. As a pineapple ripens, it turns from green to mostly brown. I want to draw a pineapple that is ready to eat.
Paint the leaves green. Don’t worry about lining up the watercolor with the drawing. If you offset a few leaves, it only adds dimension and character to your final drawing.
Tap a darker green into the center of the wet leaves before they dry.
Next, use a light brown or ochre to paint the body of the pineapple. Leave a few white patches to show through the brown. These will look like highlights on the skin.
While it’s still wet, tap small spots of green on the corners of some of the diamond shapes. The colors will blend as they dry and look similar to the second picture below.

Add small spots of green while the first layer is still wet. 
This is what the first layer of watercolor looks like dry.
Watercolor Details & Highlights
For the second layer of watercolor, let’s add depth.
Paint another layer of leaves in a green slightly darker than the first green.
Now, add a little bit of texture to each diamond using the lazy stippling technique. (You can learn more about lazy stippling when you read How to Use Stippling for Watercolor Texture.)

A shadow might look nice under the pineapple too. Try mixing a touch of lamp black into the green you’ve been using to get the color for the shadow.
Let the watercolor dry completely before drawing a few highlights on the leaves with a white gel pen.
And you’re finished! Now you can draw another pineapple. Try different shades of pineapple colors or draw it on its side ready to chop.

Watch How to Draw a Pineapple
Remember to relax and enjoy the process!


