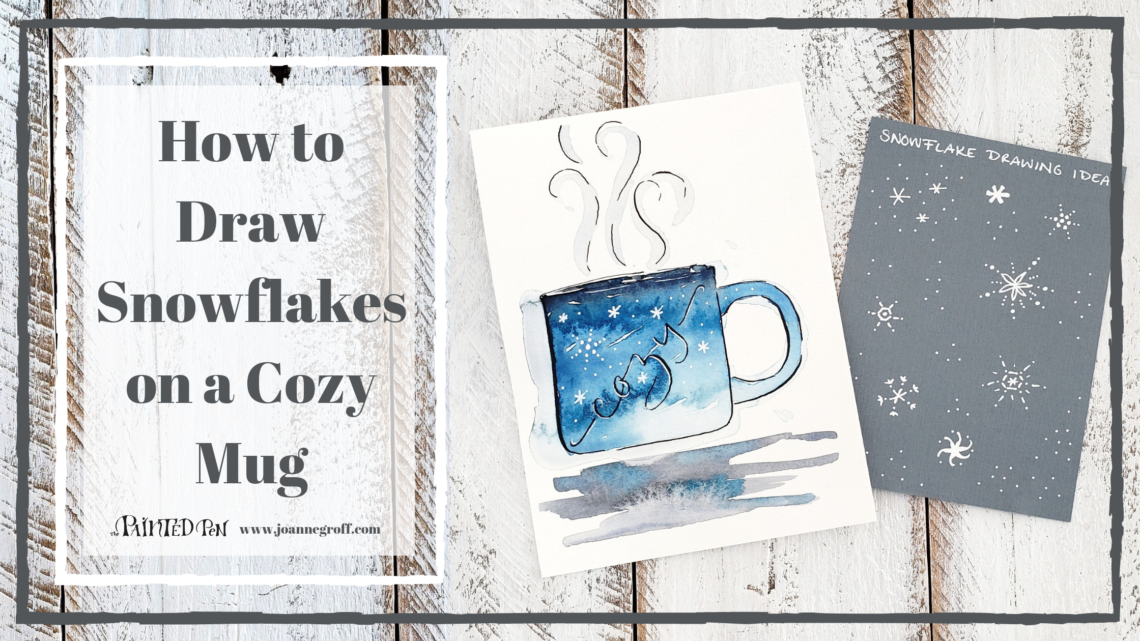
How to Draw Snowflakes on a Cozy Mug
Let’s learn how to draw snowflakes on a cozy mug drawing to take away the winter chill.
I like having a variety of seasons, and I’m lucky enough to live in a part of the world that allows me to taste a touch of each season.
This year, we are having a very winter kind of winter, much like the white winters I grew up with close to the snow belt. I think this is the first winter that rivaled my childhood winters since I moved away 20 years ago.
If you’re like me, winter makes you want to hunker down, find a warm (preferably soft) blanket, and sip a hot drink. I search out and claim coziness, especially on the coldest, windiest days.
But, let’s get real, the hot drinks still happen in the heat of summer for me (a/c is chilly too) … just maybe a little more often in the winter.
In honor of cozy winter thoughts, let’s draw some snowflakes on a cozy mug and imagine it steaming with our favorite hot drink.
Gather your supplies:

- Basic calligraphy supplies with Sumi Ink or Ziller ink
- Basic Watercolor supplies
- Winsor & Newton Cotman Sketcher’s Pocket Box or your favorite blue
- Payne’s gray watercolor, I like Winsor & Newton cotman for practice
- White gelly roll pen
Read along for extra tips and hints or jump to the video tutorial.
Mug Drawing
Sketch out a few different mugs before you decide on the shape of your mug. These square looking mugs look like they would be nice to wrap my fingers around on a day when the cold is creeping in. I’ll draw a square mug.
When you’ve decided on a mug shape and penciled a sketch onto watercolor paper, go over it with sumi or ziller ink. Use Ziller ink if you don’t want to wait a long time for it to dry completely. Vary your thick and thin strokes to add depth.
Add some swirls of steam above the mug drawing and write cozy across the mug in calligraphy or your favorite lettering style.

Watercolor Background
When your drawing is completely dry, erase the pencil lines.
This first layer will be loose and light in color (heavy in water). Remember to tape your paper to an art board or hard surface before you begin to help it dry flat.
Using mostly water and a little bit of your favorite blue (I used Intense Blue from my pocket set), paint over your drawing. Don’t worry about the edges matching the pen lines. In fact, I prefer the background layer to wander outside the lines, leaving white areas randomly showing.
Feel out the edges as you paint. When you watch the video, you will see how I do this. I start with one edge shape and change it before it dries. Sometimes you paint what you see in your mind, and sometimes you need to see it with your eyes to know it’s what you want.
Look at the difference between the wet first layer of watercolor and when it dried.

Wet first layer. 
Dried first layer.
Watercolor Blend
When the first layer is dry, start painting the second layer. This one will be tighter and darker. Let’s create a blend, darker at the top and lighter at the bottom of the mug.
Start with a touch of Payne’s Gray along the lip of the mug. Keep the edge of the paint wet as you work.
We’ll angle the blend from here down. Using your favorite blue, paint the upper portion of the mug in a darker blue. As you work lower and lower, dip your brush only in water to refill it. This will lighten the color with each stroke until you have mostly water on your brush and the bottom corner is a pale blue like the first layer.

Layer two wet. 
Layer two Dry
Tap more paint into areas that are too light while it’s still wet.
Let it dry completely. Notice how it changes as it dries. Mine shows some beautiful blooms.
Draw Snowflakes
Now, you need to add a little bit of winter to your mug by drawing some snowflakes.
If you need some ideas, here are some to try.

Because I want my snowflakes to have a doodle look, I decided not to sketch them first.
Use your white gelly roll gel pen to draw some snowflakes on top of the darker areas of the cozy mug. Some snowflakes can have detail and some can be simple or just dots.

If you find that your cozy lettering blends in too much, add a line of white near each downstroke to help it stand out.
Final Touches
Now, to add extra dimension, you can paint a shadow or flat surface for your mug to sit on. I used a little bit of gray and tapped in a hint of extra blue to match the mug.
Let it dry completely.
And you’re finished! Doesn’t your mug look cozy?

How to Draw Snowflakes on a Cozy Mug Video
Until next time …
I hope you find a mental refresh as you create and …
always … enjoy the process.

