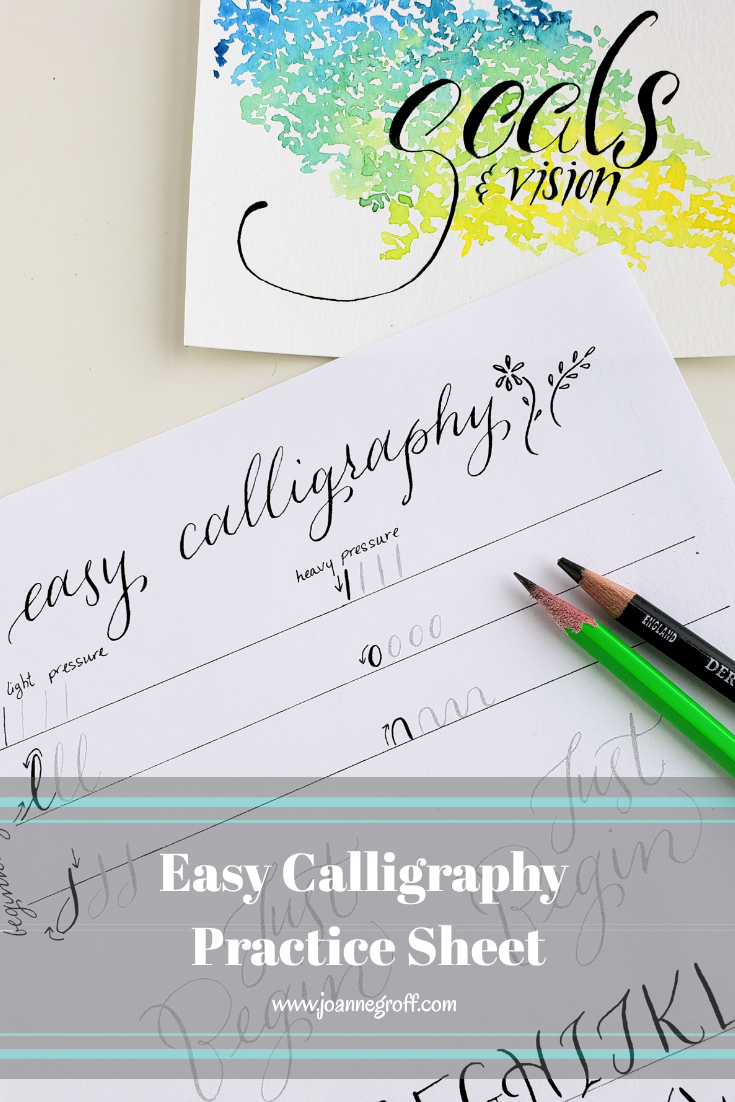
Easy Calligraphy with a Pencil
Does easy calligraphy exist? Is there an easy way to learn the art of lettering? Where should you start if you are a beginner and want to learn more about hand lettering and calligraphy but don’t have a lot of resources to invest in another hobby?
You’re in luck! Beginning to learn lettering doesn’t have to be hard or expensive. You can learn some easy calligraphy using only a pencil and paper.
One way to do this is with faux calligraphy. Faux calligraphy is drawing letters and reinforcing some of the strokes to make it look like calligraphy. This is a great way to get started learning about letter shapes and how lettering works.
In fact, I still use faux calligraphy when I’m working with a design to help me get the feel of a piece without pulling out the final tools. It’s a fantastic way to play with letters before committing them to ink.
I love beginning a design in pencil because it’s accessible (I can sit down anywhere in my house and find one close by!) and a pencil slides smoothly across the paper without snagging, blobbing ink or skipping on the paper. That means, you’re primary focus can be learning the movements of each letter.
Here’s another way to use a pencil to begin making beautiful letters. I’ll call it easy calligraphy because it uses supplies you already have and still trains your muscles in the practice of lettering art. As an added bonus, you can erase it when you want a redo without having to start all over again.
Easy Calligraphy Beginning Strokes
For this exercise, a pencil that you can sharpen will work best. You can use a mechanical pencil, but the difference in strokes will not be as noticeable.

Take a look at the words above. Notice that some of the lines in the letters are thin and some of them are thick. Do you see a rhythm to the thin and thick lines?
Think about the way you usually write. Letters are a mixture of pushing your pencil toward the top of your paper (up strokes) and pulling your pencil toward the bottom of your paper (down strokes). When writing calligraphy, you apply light pressure on your tool (this time, a pencil) during your up strokes and heavy pressure on your tool during down strokes.
Try it.
Write “Just Begin” on a piece of paper in your normal handwriting. When do you move up as you write? When do you move your line down?
Now, write it again. But this time write it like calligraphy. When you move up with your line, keep it light on the page. The less pressure you put on your pencil, the thinner the line will be. When you move down with your line, apply pressure as you push your pencil against the paper. The more pressure you place on your pencil, the thicker your line will be.
If it helps, write it normally first and go over the down strokes (a lot like faux calligraphy). Just look at the difference!
Look how easy calligraphy can be! Now, you just need a little bit of practice because all good things get better with practice.
I’ve designed a worksheet for my email subscribers to help you get started.

Sign up for my email list (Blots & Jots) in the form below or to the right of this post so I can send you this free worksheet. You’ll receive the password for the resource library and access to all new resources and printable guides as they become available.
You can see examples of lettering in pencil all over the web, but one of my favorite examples is the Instagram account of @minortismay. Click on this link to see an example of her work in pencil. Amazing. And so tiny!
That’s all for today! Thank you for reading, and
Happy Creating!


