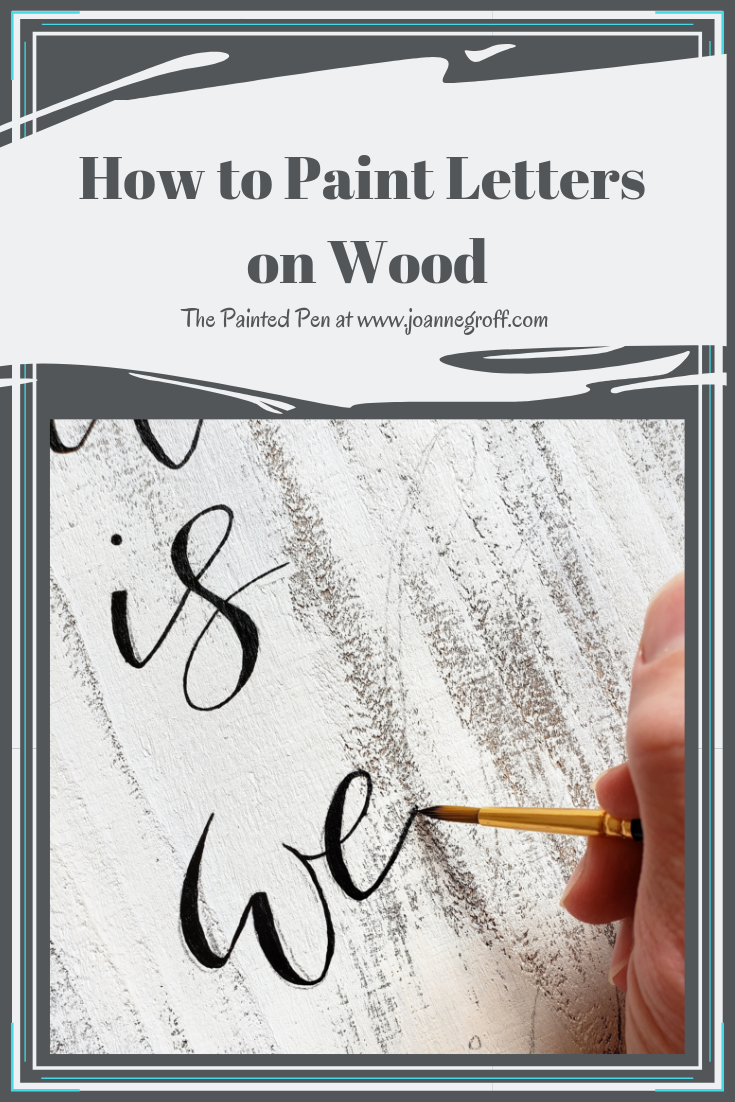
How to Paint Letters on Wood

This post contains affiliate links to products and sites that I recommend and use. I may receive a commission (at no additional cost to you) if you use these links to make a purchase. These links help me cover the cost of creating the content I offer on this site.
How to Paint Letters on Wood
You’ve seen those hand lettered signs all over the place, but none of them seem quite right. The letters are too fancy or too hard to read. The signs are too big or too small or the wrong color completely. And the quote just isn’t you. Still, you love the idea.
If you’re like me, this is the moment you start dreaming of how you can paint your own letters on wood. But where do you start? How do you paint letters on wood?
This post will give you a good start. After that, it’s up to you. (If you’d like some custom letters designed for your project, please contact me here.)
What you need:
- Piece of wood, lightly sanded and brushed lightly with white paint
- Tracing paper
- Pencil
- Charcoal (optional)
- Acrylic paint
- Round paint brush
You can use any kind of unfinished or painted wood that you like. Pallet wood, scrap wood, old wood, new wood … it doesn’t matter. You can sand it smoothly or leave it rough according to your style and preference. I chose a solid piece of scrap wood, sanded it lightly and skimmed the outside with some white acrylic paint to make it look more rustic. If you don’t have access to scrap wood, dickblick.com has many options.
Let’s get started.
- Use tracing paper and a pencil to try out different styles for the letters and words before you commit to it on your piece of wood. Hold it against your wood background. Because the paper is slightly transparent, you will get a good feel for how the end letters will look on the wooden sign.

Here are two mock ups of several design options. 
Play with options in pencil so you can tweak parts of them along the way.
- When you decide on the lettering style you like, turn the tracing paper over and rub over the reverse side of the letters with charcoal. If you don’t have charcoal, use the thick side of a sharpened pencil to rub over the letters. Cover them well.

- Turn the tracing paper over so the right side up shows in place on the wood piece.
- Next, trace over the letters, pressing firmly as you do. This should leave a light mark on your wooden surface, giving you an outline of your final layout. Now, you don’t have to worry about trying to size it correctly or whether you have it straight.

Trace over the letters with the charcoal side touching the wood. 
Can you see the faint outline of the letters on the wood?
Pull out the paints!
- Now, it’s time to paint over the transferred letters with varied thick and thin strokes. I usually use faux calligraphy for rustic signs because the surface has a lot of texture that doesn’t always allow for pure brush lettering.

- When the paint dries, erase any leftover transferred lines.
- There you have it! That is how you paint letters on wood. Now you have a lettered sign just the way you want it.
I hope you’ve enjoyed learning how to paint letters on wood with faux calligraphy. I’d love to see the pictures of your work. If you share them on Instagram, be sure to tag me so I can take a peek.
Happy Creating!


