Lettering Tulips
Shadow Lettering with a Watercolor Bleed Color Blend
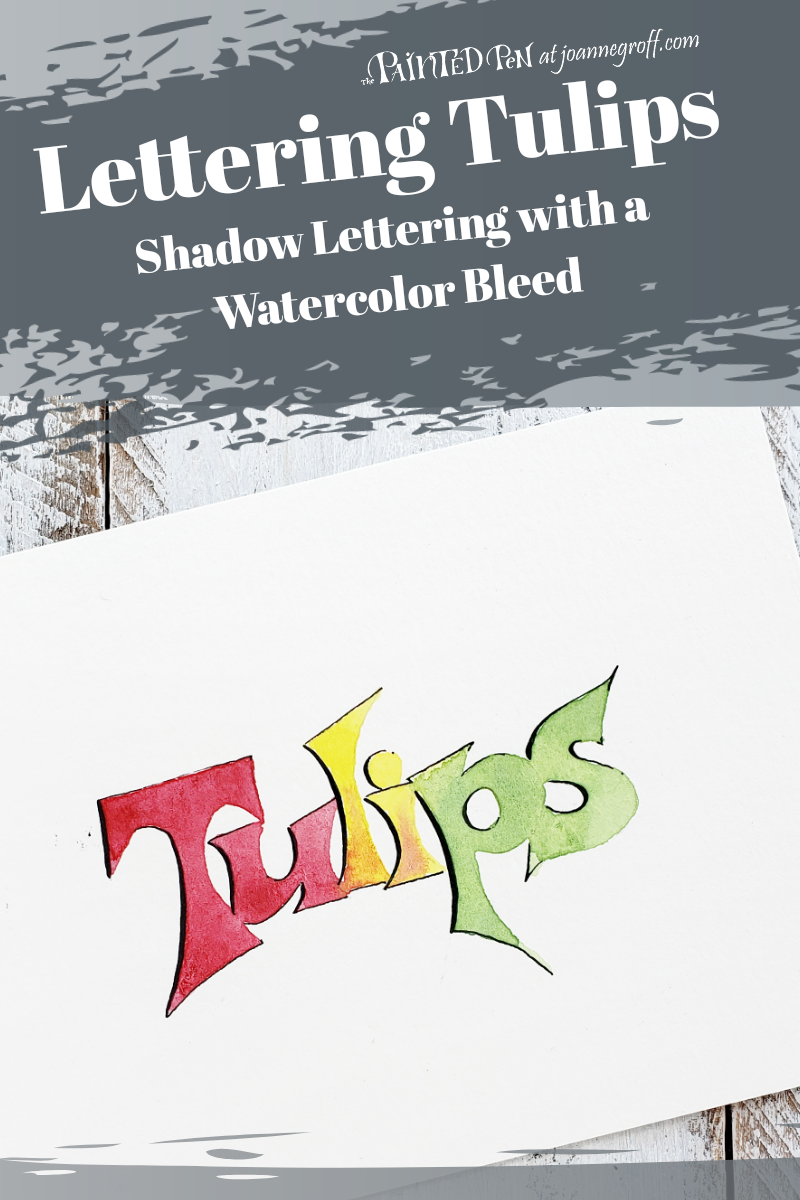
Lettering tulips will help us bring a little outside inside. We’ll learn some shadow lettering with a watercolor bleed color blend in our favorite tulip colors.
My family and I live in the country, so this time of year when the days are sunny and starting to warm, the outside beckons to me. It’s not enough to work at my desk and look outside. That just makes me feel cooped up. I want to be out there in the growing grass and warm breeze, 40s or lower 50s (I know, but it’s warm to me right now).
Still … there is work to be done at my desk. During those times, I need a little more spring inside. In the last tutorial, we painted bright spring butterflies (if you missed it, you can find the tutorial here), so this month, we’ll focus on some of the first spring flowers … tulips.
Today, we’ll practice a color blend by trying a watercolor bleed effect on shadowed lettering with the word tulips. Then, in the next tutorial, we’ll try a tulip drawing.
Tulips come in many colors. Paint with the colors that you like best. I love red, yellow, and yellow/red tulips, so I will use those colors in this tutorial.
What you need:
- Watercolor paper
- Water, paper towel, and masking tape
- Round paint brush
- Watercolor paint: Winsor & Newton permanent alizarin crimson, winsor lemon, and green (mixed from winsor lemon and winsor blue red shade)
- Calligraphy pen and nib
- Sumi ink
Lettering Tulips and Shadow Lettering
Start by sketching the word tulips in block style letters. That way, you will have plenty of room to fill them with color and draw a shadow.
When you’ve decided on a design you like, use your calligraphy pen to add shadow to one side of each letter. I thickened (apply pressure to your nib) the left side of my letters. You can add a light line (very little pressure on your nib) to the right side or leave it without a line.

When the ink has dried, erase the pencil lines, and tape your paper to a flat surface.
Watercolor Bleed Color Blend
Before you start painting, think about your colors. I know that mixing red and green will give me a brown or gray color, so I decided to try to divide the red and green with yellow.
Many watercolor artists avoid watercolor bleeds, but I love the effect of one color leaking into another. The process leaves ragged edges as one color spills into another color.
When trying to make a watercolor bleed, paint an area of one color. Close by, paint an area of another color. Leave a little space in between the colors. Then, slowly work one color closer to the other color until they barely touch. Then, stop painting and let the colors do their magic.
In the video below, you can see what I mean. I demonstrate two watercolor bleeds. In the top bleed, I used less water than in the second example.
And here is what they look like dry. Notice the differences. Which do you prefer?

Now, use the colors you chose to create the same effect in the word tulips. I’ll show you how I did it in the video below, from ink to paint.
Let it dry, and you’re finished!

Then, do it again. or try other color combinations with your tulip lettering. Each watercolor bleed will be slightly different.
If you’d like to share your tulip lettering, I’m on Instagram. Just tag me at @the.paintedpen so I can see it too. Or send me an email and attach your picture there. I’d love to see what you come up with.
Add questions or comments below this post or email me directly.
Thanks for following along. I hope you leave inspired to get a little painty.
Happy Creating!

If you want more watercolor and calligraphy/lettering ideas, follow me on Pinterest.

