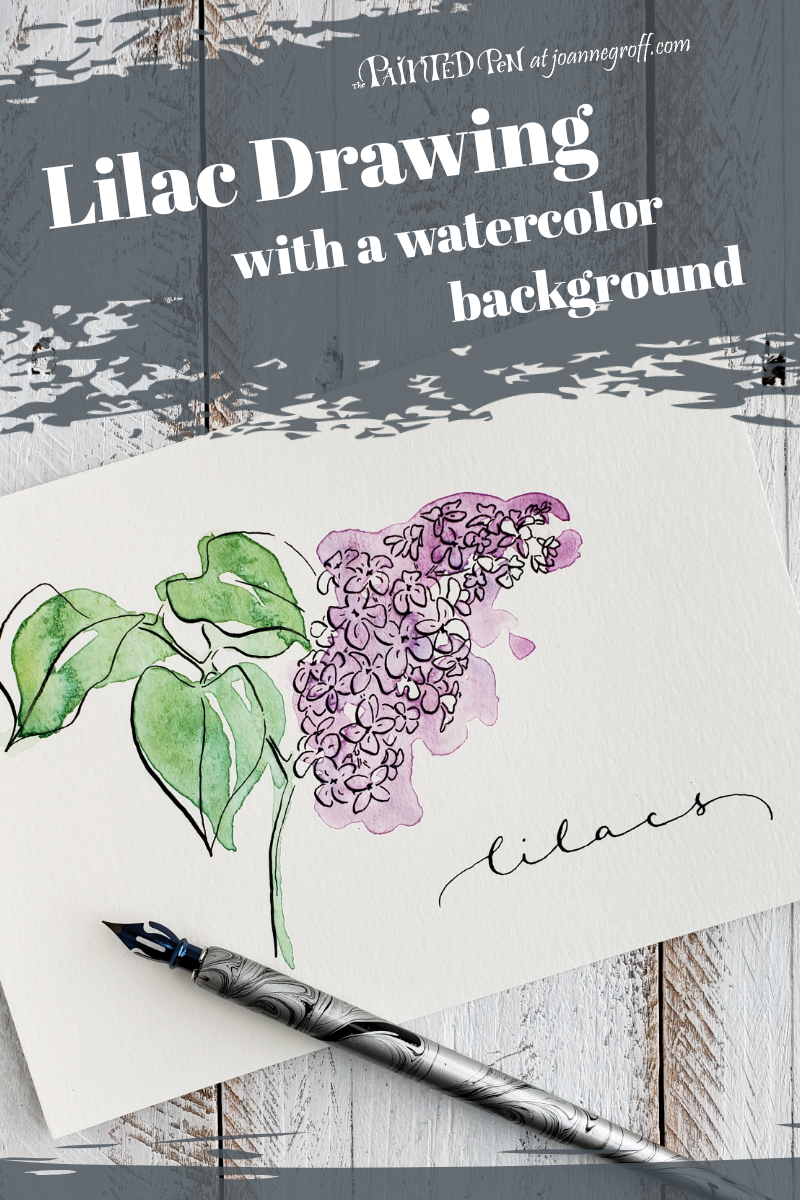
Lilac Drawing With a Watercolor Background
My watercolor painting often follows outside inspiration this time of year. Lilacs are blooming, so it’s time for a lilac drawing tutorial.
As much as I love putting pen and paint to paper, I also love being outside watching the world change and being a part of it … running, hiking, and growing things in my garden.
Spring is the perfect time to be outside. I love to take my lunch or coffee out and sit on our brick patio, soaking up the first warm rays of sunshine after winter. I close my eyes and listen to the birds celebrating the return of spring.
A couple of years ago, I planted a lilac bush. It’s still too young to bloom, but when it does, the smell of those blooms will hang on the breeze while I sit in the sun on my patio.
For now, the bouquet on my table will do for some lilac inspiration. Are you ready to make a lilac drawing with a watercolor background?
What you need:
- The basics: water, watercolor paper, paper towel, paint brush, masking tape
- Purple watercolor paint (Here’s a nice, bright purple, but feel free to mix your own, adding red or blue until you reach the color you like)
- Green watercolor paint (You can start with this green. Add blue or yellow until you get the color you want)
- Calligraphy pen and nib
- Sumi ink
- Draw Lilacs Worksheet Set
Lilac Drawing
Gather some pictures of lilacs or clip a sprig of lilacs to use as reference for your drawing. Notice the shape of the flower petals, leaves, and the cluster of flowers as a whole.

Notice that lilacs has a mixture of bloom types. Some are fully open, some you can see from the side, some show their stems, some are opening and some are still buds. And these blooms tumble on top of each other.
Here are a few bloom variations to try if you’re not sure where to start with your lilac drawing.

Make the lilac drawing with many blooms or just a few according to the style you like. Do this part in pencil. Then, when the drawing looks the way you want it to look. Go over the pencil drawing in ink with your calligraphy pen (a micron pen will work too, but it will not give you a mixture of thick and thin strokes).
Let it dry completely before erasing your lines or moving on to your watercolor layer. I love the sheen on sumi ink, but it will mix into your paint if you don’t let it dry for several hours. If you want an ink that dries faster, you can use Ziller ink (but it won’t have the same sheen).
Watercolor Background
Tape your lilac drawing to a flat, surface to keep it from warping as it dries.
I know it’s called a watercolor background, but sometimes I paint my backgrounds on top of my drawings. Because the black ink is so bold, it works like a background anyway.
Start with the leaves. This will keep your hand away from the wet paint while you paint the flowers later.
We’ll use the wet on wet watercolor technique. If you want to learn more about this technique, check out this post, Watercolor Background for Lettering.
Wet your brush with water. Paint a loose leaf on your lilac drawing. (This can also be done with paint already in your brush by adding a lot of water to your paint. I use both methods in the video below.)
I like to offset my ink layer and my watercolor layer, but you are painting your drawing. If you like to color inside the lines, do it the way that appeals to you.
Next, dip your brush in green paint and dab it into the water on your painting. I added a lighter green to some upper right areas of the leaves to give it a bit of a highlighted area.
For the purple part of the lilac, paint one water area over all of the blooms rather than each individual bloom. Then, follow the same process for adding color as you did for the leaves. Dab purple paint into the water. You can add a darker purple to areas and a lighter purple to areas if you want to.

Use the wet on wet watercolor technique to paint the lilac leaves green. 
Using the wet on wet watercolor technique, add purple paint to the blooms of the lilac drawing.
Let it dry completely.
Lilac calligraphy
A touch of calligraphy finishes off the piece. Write lilacs in your favorite lettering style. (To learn a little about developing a new letter style, read Calligraphy Alphabet – a new letter style starts with one letter.)

Here you can watch the entire tutorial. I learn best by mixing some still pictures with a video process.
Now, if only we could paint the lilac smell …
Use your lilac drawing with a watercolor background to add some color to your living area, work space or on a card to a friend.
Happy creating!

If you give this tutorial a try, share your work on Instagram. Make sure to tag me @the.paintedpen so I can see it too!
For instant ideas that you can save to your project ideas board, follow me on Pinterest.
As always, contact me with your custom requests or to discuss your project ideas.


