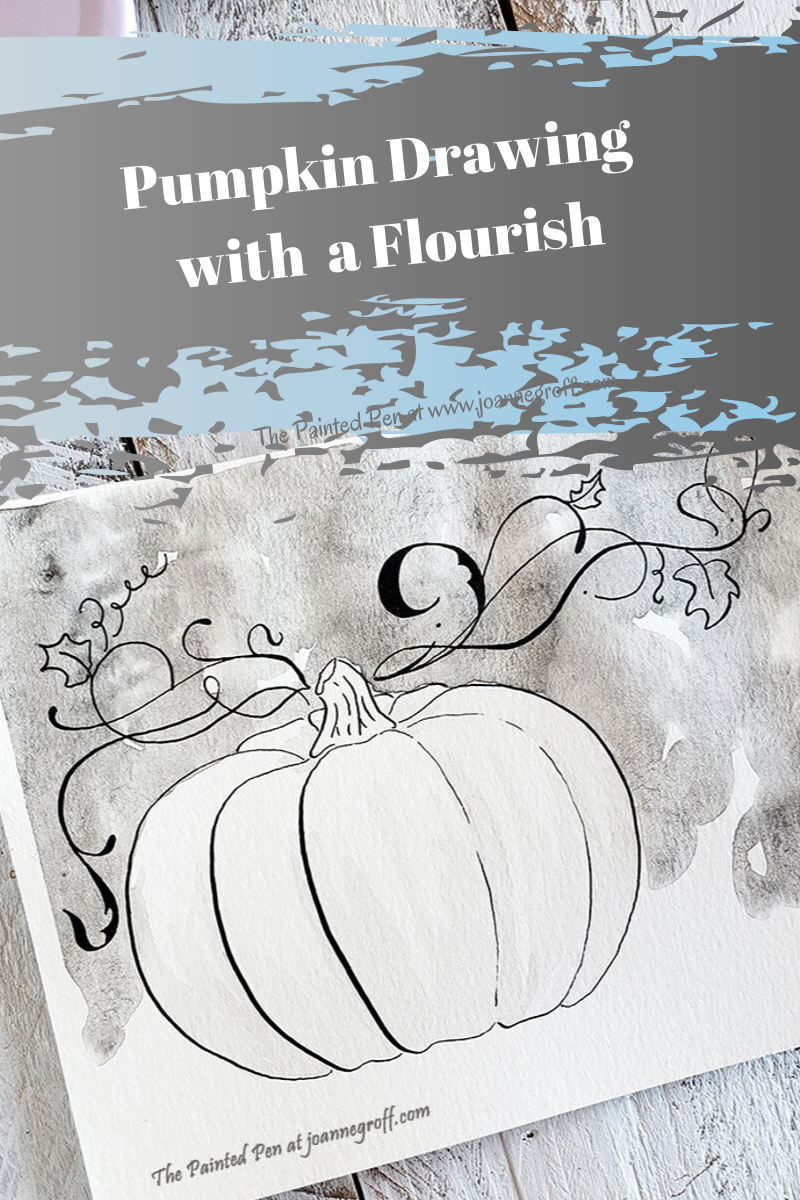
Pumpkin Drawing with a Flourish
This post contains affiliate links to products that I use and recommend. I may receive a small commission (at no additional cost to you) if you use these links to make a purchase. These links help me cover the cost of creating the content I offer on this site.
Fall reminds me of pumpkins and pumpkin drawing.
It feels like fall at our house. Sure, there’s a touch of summer lingering, but fall is in the air. The mornings are colder, fall sports have started and the fields around us are starting to show their harvest colors.
I’ve picked my pumpkins for the year. The ones growing in my garden (the pumpkin pie ones), not the pumpkins I decorate with.
There’s just something about fall that I love to draw and paint. Maybe it’s my way of holding on to the color before the dull browns of winter set in. Or maybe I just enjoy this season and want to capture bits of its beauty. Whatever the reason, it prompted a pumpkin drawing tutorial for today’s post. I hope you enjoy it as much as I did when I made it.
Pumpkin Drawing with Calligraphy Flourishes
What you need:
- Calligraphy pen and nib (Nikko G with a straight holder works great for drawing)
- Micron pen (03)
- Pencil
- Paper (32lb. Laserjet paper if you aren’t using a watercolor background)
- Flourished Vine Ideas worksheet for reference (available for email subscribers)
- Watercolor supplies (if you want to add a watercolor background)
- Watercolor paper
- paint (I like Winsor and Newton Cotman or Professional)
- Brush
- Water
- Paper towel
Let’s get started!
**If you want your pumpkin to have a watercolor background, I recommend doing that first. (Here is a post that walks you through a watercolor background) Draw your pumpkin without the flourishes. Then add the watercolor. When it’s dry, continue with the following tutorial for adding flourished vines on your pumpkin drawing. I kept the watercolor off of the drawing pictures so you could see the pencil lines easier.**
When I draw, I almost always start in pencil. It gives me room to make mistakes and helps my muscles more confident with the strokes. First, draw a pumpkin.

Flourish it!
Draw a few bold flourishes first. Try to add some to each side of the stem, but don’t go crazy or it will feel heavy instead of delicate. I have designed a worksheet with flourish vine ideas for you to use. You’ll find it in the resource library (the password is available to email subscribers).

Next, draw some lighter flourished vines. As you draw, try to think about filling in areas with too much white space. Balance is always key.

Add a few extras: leaves, curly q’s, and small embellishments.

Finally use a calligraphy pen and/or a micron pen to darken those flourishes and make your drawing really stand out. When the ink is good and dry, erase the pencil lines.
And voila! You have a beautiful pumpkin drawing with a flourish!

Now you can decorate your work space with seasonal flare. I’d love to see what you make! Share your creations on Instagram, and tag me @the.paintedpen, so I can see it too.
As always … Write it! Draw it! Dance it! Dream it!
Happy creating!

Here’s a sneak peak at the Flourished Vine Ideas Worksheet.


