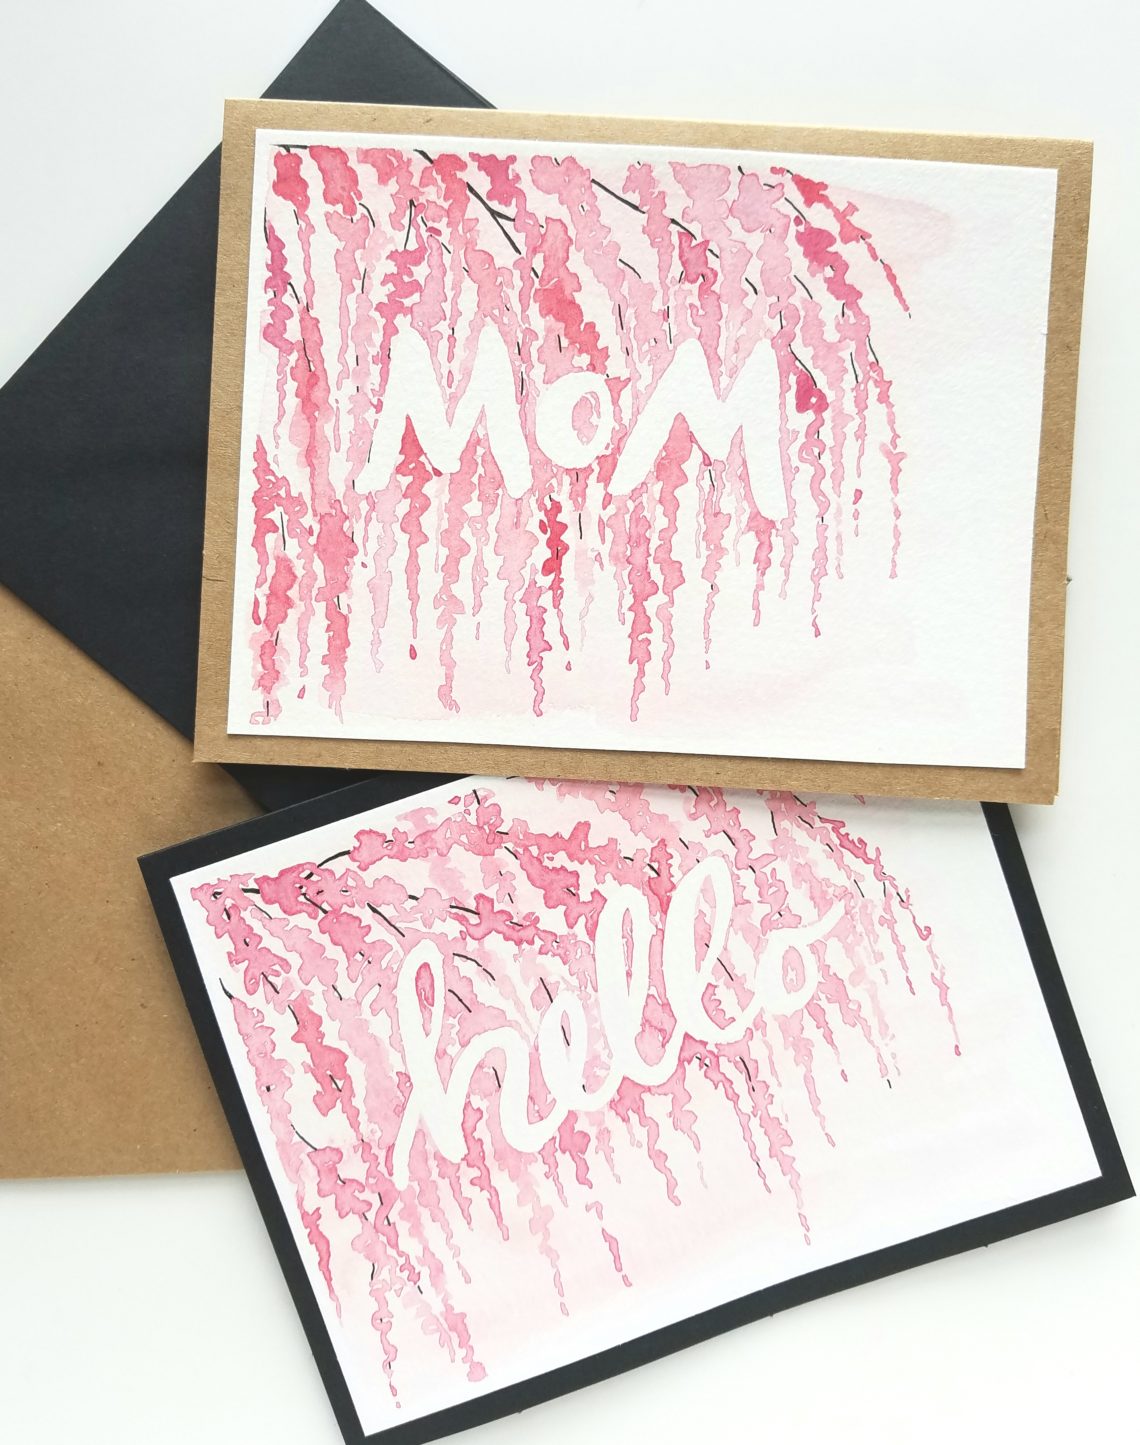
Watercolor Mother’s Day Card Tutorial
Watercolor Mother’s Day Card Tutorial
Today, I’ll share a watercolor Mother’s Day card tutorial with you.
With Mother’s Day, memories of the sweet influence of so many wonderful women crowd my mind, some are mothers, some are not, some are here and some have passed on.
For those who are here, a card seems appropriate to remind them of my care. For those who have passed on, I’ll take some quiet moments to remember the joy they brought to my life.
Among the millions of store bought cards, I rarely find one that I want. The quote doesn’t fit or the look isn’t my style. So I dreamed up a card to paint. As I created each, I thought about the recipient, pouring my gratitude for them onto the painted page.
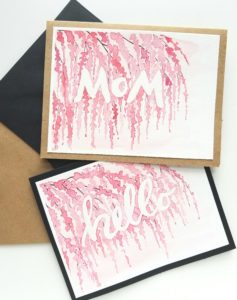
A cool, slow start to spring slowed down our local flowering trees. The weeping cherry trees, usually blooming in April, look gorgeous and provided inspiration for this card.
1. Gather your supplies.
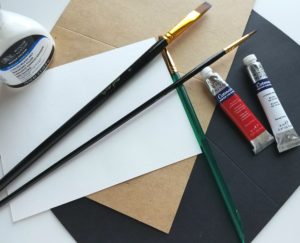
You will need:
- Pink watercolor paint (Use a shade you like.)
- Paint brush
- Water
- Paper towel
- Micron pen
- Masking fluid
- Old paint brush (Not a good one. Masking fluid wreaks havoc on brushes.)
- 4.5” x 6” watercolor paper (I use Canson Watercolor paper 140lb taped down to prevent warping)
- 5” x 6.5” blank card, black or brown, and envelope
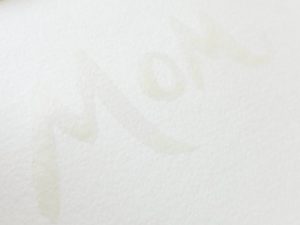
2. Using masking fluid and an old paint brush, paint “Mom” on your card.
I painted a card with “hello” for those women who are not mothers but still influence our lives.
I recommend using a brush that you will no longer use for painting. Even when I clean my brush right away, the bristles gum up with rubbery masking fluid.
3. After the masking fluid is completely dry, paint a light wash over the whole card.
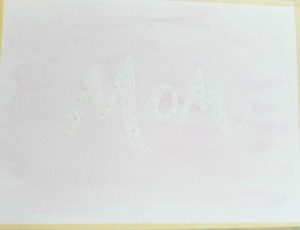
I used a very pale pink evenly painted just to add a little background color to the watercolor paper. Paint right over the masking fluid. It will peel off with the masking fluid when you are finished with the car. Don’t worry about covering the paper completely, unless you want to. I think the brushed edges add character to the card.
If you want to learn more about watercolor washes, check out Make a Simple Watercolor Wash.
4. Allow the wash layer to dry, and add the flowers in long, weeping strands.
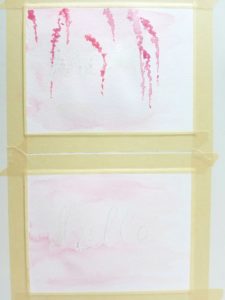
Paint right over the masking fluid. Vary the darkness of the pink to add depth to the picture. Try to imitate the hanging look to the branches.
Remember to cover as much of the masking fluid as possible to provide contrast to the white letters when you remove it.
5. Allow the blossoms to dry. Then use a micron pen to add branches.
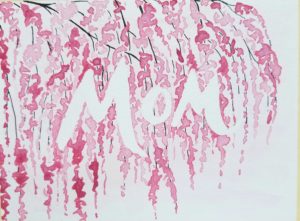
Draw lines here and there to show branches or pieces of branches peeking out between the flowers. This adds some nice contrast to the pink and gives the weeping cherry a real feel.
6. Remove the masking fluid and tape.
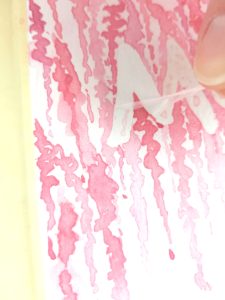
Rub the masking fluid at the edge of the letters. It will start to pull away from the paper. Keep rubbing and pulling until it’s all off. Viola! White letters.
Carefully remove the tape from the edges of the card. You don’t want a chunk torn out of your hard work.
7. Attach the watercolor painting to a blank card.
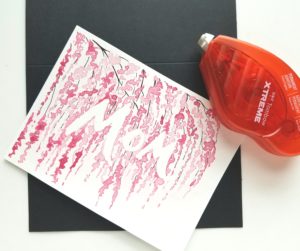
I use double-sided tape to adhere the watercolor paper the blank cards. Attach the tape the whole way around the back of the watercolor piece. Press it firmly centered on the blank card.
8. Hand letter a beautiful address and send you watercolor Mother’s Day card on its way!
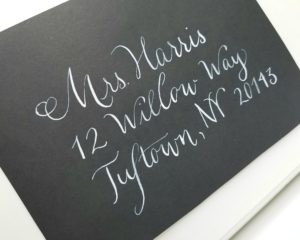
I hope the watercolor Mother’s Day card tutorial helps you connect with the wonderful women in your life this weekend.

