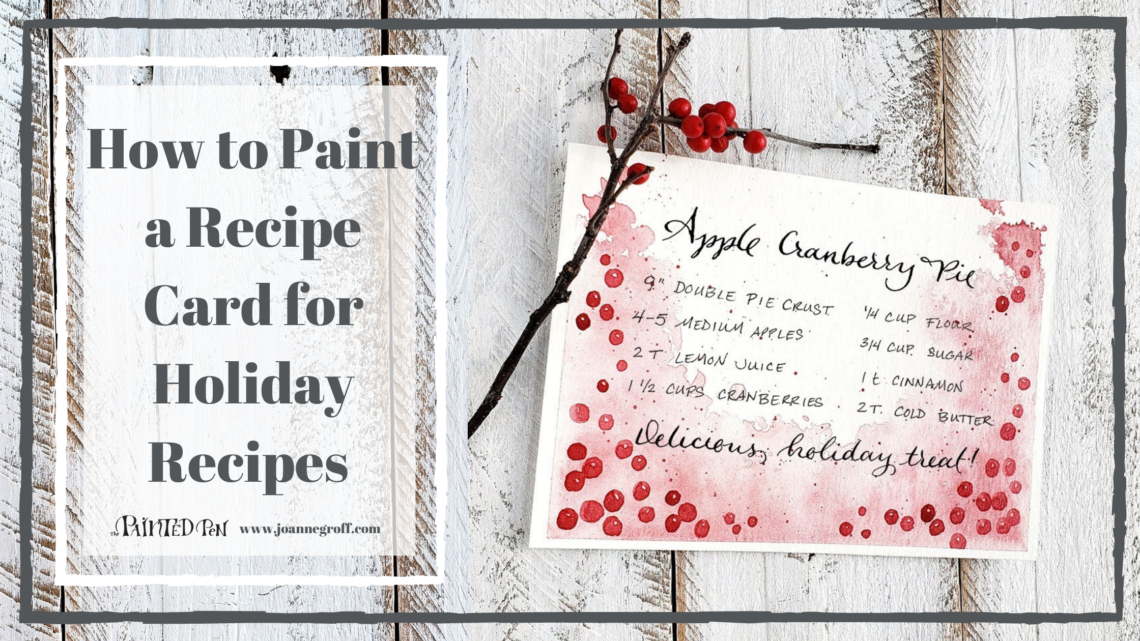
How to Paint a Recipe Card for Holiday Recipes
Learn how to paint a berry recipe card for all those holiday recipes you collect this holiday season.
So, I have to admit something, just to get it out there. I have another passion … you know, more than art and design.
I love food.
There. I said it.
I’m not a perfect cook because I don’t usually like to be confined by a recipe. It’s so hard to do what I’m told. Recipes are more like guidelines anyway … right?
I do collect and use recipes, but I hardly ever cook without changing something on the list. It works for me. It’s kind of how I paint too, leaving the rules behind.
Anyway, around the holidays, maybe you, like me, will find yourself with a new recipe or two to try. That makes it the perfect time to make them extra special with some watercolor and calligraphy. Let’s paint a recipe card for those holiday recipes.
Gather your supplies

- Basic calligraphy supplies with Sumi Ink
- Basic Watercolor supplies
- Winsor & Newton Cotman Sketcher’s Pocket Box, or just Alizarin Crimson Hue
- Spray bottle with water
Let’s get started.
Jump to the video or read the tutorial for extra hints and suggestions.
Watercolor Background
This layer requires a lot of water, so make sure to tape your paper to a hard surface before you start to help it dry flat later.
Use a spray bottle to mist water around the sides and bottom edge of your paper. Then, tap red paint into the water. Spread it around with your brush, adding water or more mist as necessary. The water will also help spread the paint around.

Keep this layer light enough that if you need to write over parts of it, you will still be able to read the writing.
Let it dry completely. When it’s dry and flat, you can remove the tape.
Hint: It will likely feel dry before it’s flat. Leave the tape on until it’s flat. But you can paint the next layer when it feels dry.
Paint Berries on the Recipe Card
Paint winter berries along the sides and bottom of the recipe card.
Leave a highlighted spot on some of the berries to make it look like light is shining on that spot.
Paint some larger berries and some smaller berries.

Paint winterberries in various sizes, sprinkled around the edges of the recipe card. 
Add a red splatter to tie the berries and the background together.
When you’re finished painting berries, fill your brush with red paint and tap it on your finger, moving around the whole recipe card to make a fine paint splatter.
Let it dry completely.
Handwritten Holiday Recipe
As you’re waiting for the recipe card to dry, choose your holiday recipe and practice a layout on another sheet of paper. This will make a great reference for spacing when you write it on your recipe card.
Write the title in calligraphy.

Practice writing the recipe title in calligraphy before adding it to the recipe card. 
Using your own handwriting helps keep a recipe readable and memorable.
I like to write my recipes in my own handwriting (my handwriting looks nothing like my calligraphy, by the way) or in all capitals. I think this helps it stay readable and memorable. When I look through my recipe book, I picture the handwriting of the person who gave it to me as I search for the recipe.
Finally, write a little note about the recipe in calligraphy.
And you’re finished! Now, you can paint another one for a friend (because you’re going to want to keep this one).

Here’s the video tutorial for a watercolor berry recipe card.
I hope you enjoyed this project as much as I did. Winterberries are a must for me this time of year. I just need a little pop of color in the snow and cold of winter.
Email me with your comments or share your work on Instagram and tag me, @the.paintedpen, so I can see it too! And … don’t forget to add your favorite holiday (or non-holiday) recipe to it (remember … I love food).
Enjoy your time creating!


