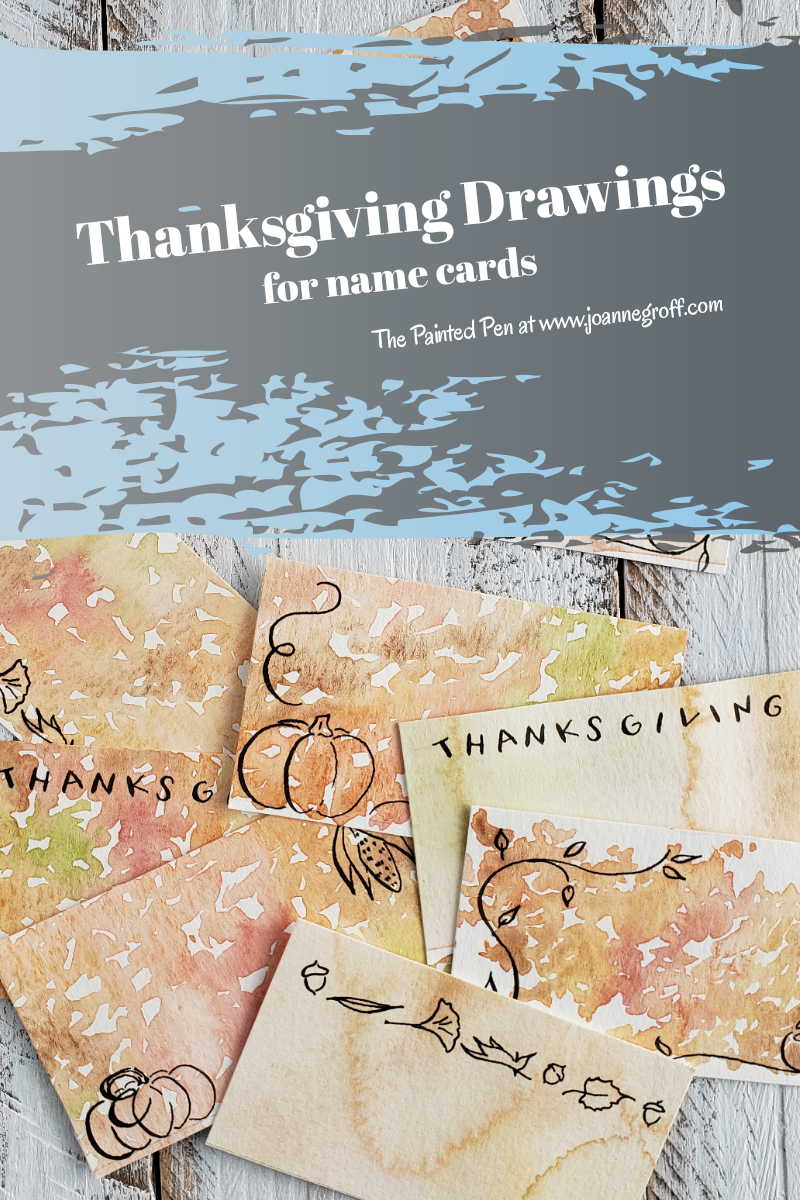
Thanksgiving Drawings for Name Cards
Use Thanksgiving drawings to make name cards
With Thanksgiving fast approaching (gasp … next week!), I know that some of you are getting ready for time with family and friends. Decorations, recipes, and little ways to make gatherings special are dancing through your heads.
Today I have a tutorial to help those ideas turn into action. We’ll take some Thanksgiving drawings and add watercolor to make name cards for your food celebrations.
I know that we’ve done several tutorials with watercolor techniques lately, but I wanted to show you there are many different ways to use these techniques. They are the building blocks of watercolor painting. I’m sure you’ll discover other watercolor techniques along the way and add them to your tool box too.
Name Cards with Thanksgiving Drawings
What you’ll need:
- Pencil
- Ruler
- Masking tape
- Marker or dip pen and ink, optional
- Watercolor paper cut to 8.5″x11” (use the trimmings for color testing)
- Paint
- Brushes. Size 8 round and 1” flat
- Water
- Paper towel
- Scissors
- Thanksgiving drawings printable, optional
Let’s get started.
Gather your supplies and have your worksheet download ready (You gain access to this when you sign up for Blots & Jots, my email blog updates. It’s in the resource library along with other free printables.). You don’t have to use the worksheet though. You can certainly make your own Thanksgiving drawings. It’s just there if you need a time-saver.
Decide whether you want to print on top of your watercolor background or under it. If you want the illustrations there when you paint, print the worksheet on watercolor paper now.
(In this tutorial, I printed the worksheet on the finished watercolor backgrounds. This works, but I recommend waiting to draw the dividing lines until after you print. If they are under the watercolor background, you can no longer erase them. The lines help when you cut apart the name cards.)
I painted my watercolor background first and also drew my lines first because I wanted to try several different backgrounds, dividing my paper accordingly. Good idea, but some of my lines show. Lesson learned.
I will proceed as though you are also painting first. If your watercolor paper is larger than 8.5”x11”, trim it to fit this size so it fits into your printer. Then, tape it to an artboard or other hard surface.
Taping is necessary to help your paper dry flat when using watercolor techniques that require a lot of water.

Choose which watercolor technique you want to use for the background or try a couple different techniques.
For a lazy stippling background
Here is a short video showing how I used the lazy stippling watercolor technique to mix in various fall colors. In the video, I paint the size of one name card, but you can make the lazy stippling area as large as you want. In another area of the paper, I painted it to cover several name cards creating a background with less edges.
To learn more about lazy stippling and how to use it, read How to Use Stippling for Watercolor Texture.
For a wet on wet watercolor wash background
Start by painting the area with water only.
Dab and move colors in the water on top of the watercolor paper. The water will help the paint move and blend. I wanted a very light background, so I added small amounts of each color.
Check out this short video showing how I used the wet on wet watercolor technique to create a different kind of background for the name cards.
(I’m sorry for the quality of my videos. I will keep learning and trying with them. For now, I just wanted you to see the technique in action to get a feel for it. Thank you for your patience.)
Here is what it will look like when finished but still wet. This is the stage when I always wonder if I will like it when it dries. The puddles look horrendous now, but just wait … they will create beautiful blooms.

Leave the paper taped until it’s completely dry, especially for the wet on wet technique. The paper will warp quite a bit while you’re waiting, but don’t despair! As it dries, it should return to a relatively flat state. This is what it looks like when dry to the touch and several hours later.

Wet on wet watercolor technique dry to the touch. 
After several hours of drying time. Much flatter! 
See how straight the edge is when it’s completely dry?
Do you see those blooms that I mentioned earlier?
I think they add such unpredictability and character.
When your background is completely dry and flat again, remove the masking tape, and print the worksheet on top of the background.

Use a ruler to draw dividing lines between your cards. Cut them out, add some hand lettered names, and you’re done! What a festive addition to your Thanksgiving table!

Thank you for joining me today!
And happy creating!

Joanne Groff
Just a brainy creative with a fascination about how people think and understand. I use watercolor and letter design to encourage connection ... with self, the environment, and especially the people who live there.


2 Comments
Deb Yilek
Joanne, the videos were ‘very’ helpful. Now I get it! ? My paper is cut, snow is coming tomorrow, so I try it then. I’m looking forward to watching your other classes too. I appreciate you sharing your knowledge ❣️? Deb
Joanne Groff
Thank you so much for the feedback! I hope you enjoy the time you have to paint. A snow day is perfect!