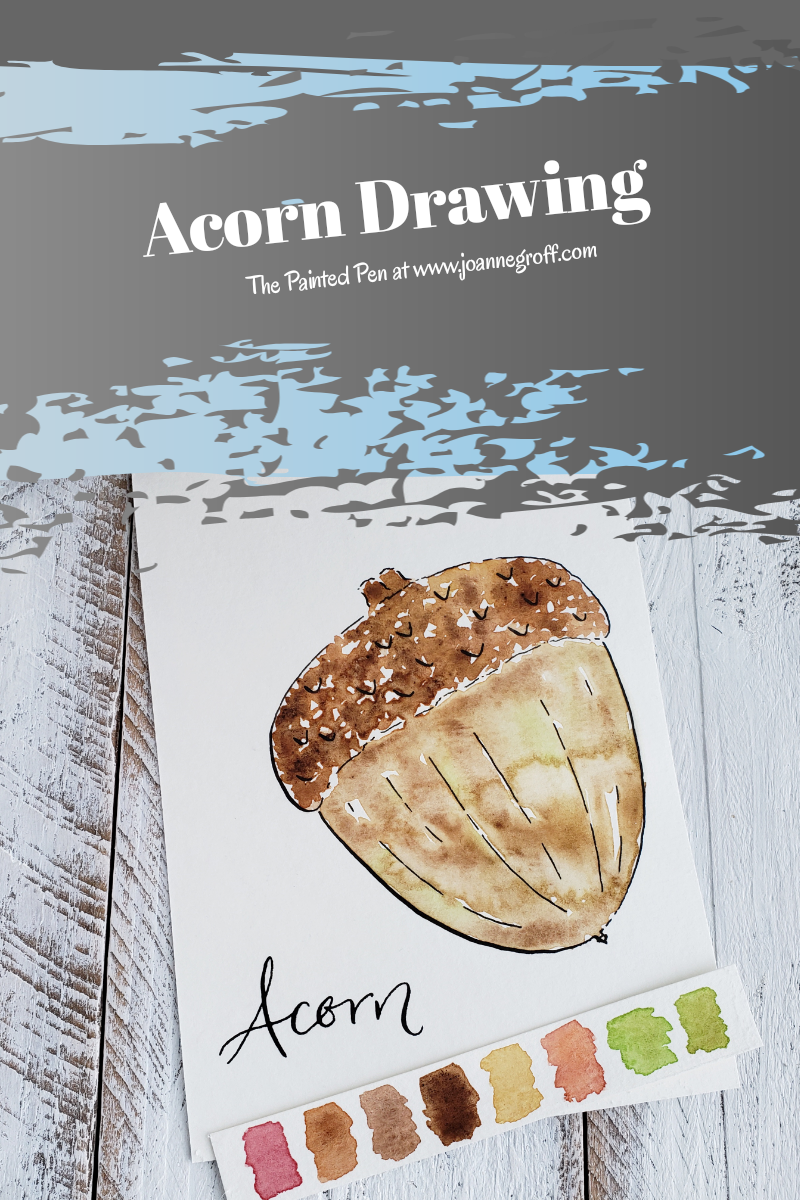
Acorn Drawing
Today is a good day for an acorn drawing … with a smattering of watercolor, of course!

Fall is a bittersweet time of year. The growing season, the warm season slowly ends. And although I’m almost ready to hibernate by then, it still means the long, dark winter looms. We say goodbye to the color and warmth and hello to the cold, bland, endless months.
Both seasons have their good points. Fall has its colors and smells like honey. It tastes like apple pie and pumpkin lattes. Winter has its cozy sweaters, warm fires, and promise of spring. I must say, though, I am particularly fond of fall.
So, while we still have it, let’s create another fall drawing. Acorns aren’t as colorful as leaves, but where I live, finding the biggest acorn is almost as important as finding the prettiest leaf.
What you need:
- Watercolor paper
- Round brush
- Watercolor paint
- Calligraphy pen, nib, and ink (or micron pen)
- Pencil
- Clean water
- Paper towel
- Masking tape
- Artboard or clipboard (mine is tiger striped)
Let’s get started.
Before I start drawing, I always gather inspiration or reference material. Go take a walk, stop under an oak tree, and gather a few different acorns. If you don’t have access to an oak tree, you can find many pictures to reference online. Just google acorn pictures.
Take a good look at your acorns. Notice their shapes. What stands out about them? Which colors can you see?
Next sketch an acorn. Here I outlined a basic acorn. I didn’t want much detail, just a few accents. You can use as much or little artistic license as you please. Make it yours.

Tape your drawing to a clipboard or and artboard. Taping helps your watercolor paper dry flat.
Trace over your illustration in ink. I love the thick and thin lines a calligraphy pen adds to an illustration, but you can use a micron pen too. Just make sure your ink is waterproof or it will bleed everywhere when you add the watercolor.

Now, let it dry completely. Some calligraphy inks take a few hours to dry enough to add watercolor. Sumi ink falls into this category (one of my favorite inks).
Then erase the pencil lines.
Add some color!
When it’s completely dry, choose your colors. I stuck with fall colors. You can see my color palette above in the inked acorn drawing.
For this acorn, I’ll show you two different watercolor techniques. On the cap, I use a technique I like to call lazy stippling. For the base, I use a wet on wet watercolor technique with some color blending.
Stippling is a technique that uses lots of dots to create a picture.
So, to make it lazy, drag your brush on the page instead of picking it up between dots.
Now, fill your cap with lazy stippling. Add in different colors as you go, and watch how they blend together.
Here is a short video demonstrating lazy stippling. (To learn more about lazy stippling and how to use it, read How to Use Stippling for Watercolor Texture.)
The wet on wet watercolor technique uses clean water before adding color. Paint your acorn drawing with clean watercolor, covering the areas where you want color. Then, fill your brush with a light brown and tap it into the water. Help spread the brown by moving it through the water with your brush. Add more color as necessary to cover the area.

Paint water over the base of the acorn. 
Add brown and work it throughout the water. Then add green in a few areas.
While it’s still wet, add green to a few areas. Don’t spread the green around much, so it doesn’t disappear into the brown.
Here is a video to show you how I add color and move it around the base of the acorn.
Wait for it to dry!

I hope you enjoyed this fall acorn drawing tutorial. Try these watercolor techniques on other illustrations.
As always … Happy Creating!

In love with painting fall? Here are some other tutorials to check out.
Pumpkin Drawing with a Flourish
And check out other watercolor techniques here.

