How to Draw a Winterberry Card with Thank You Script
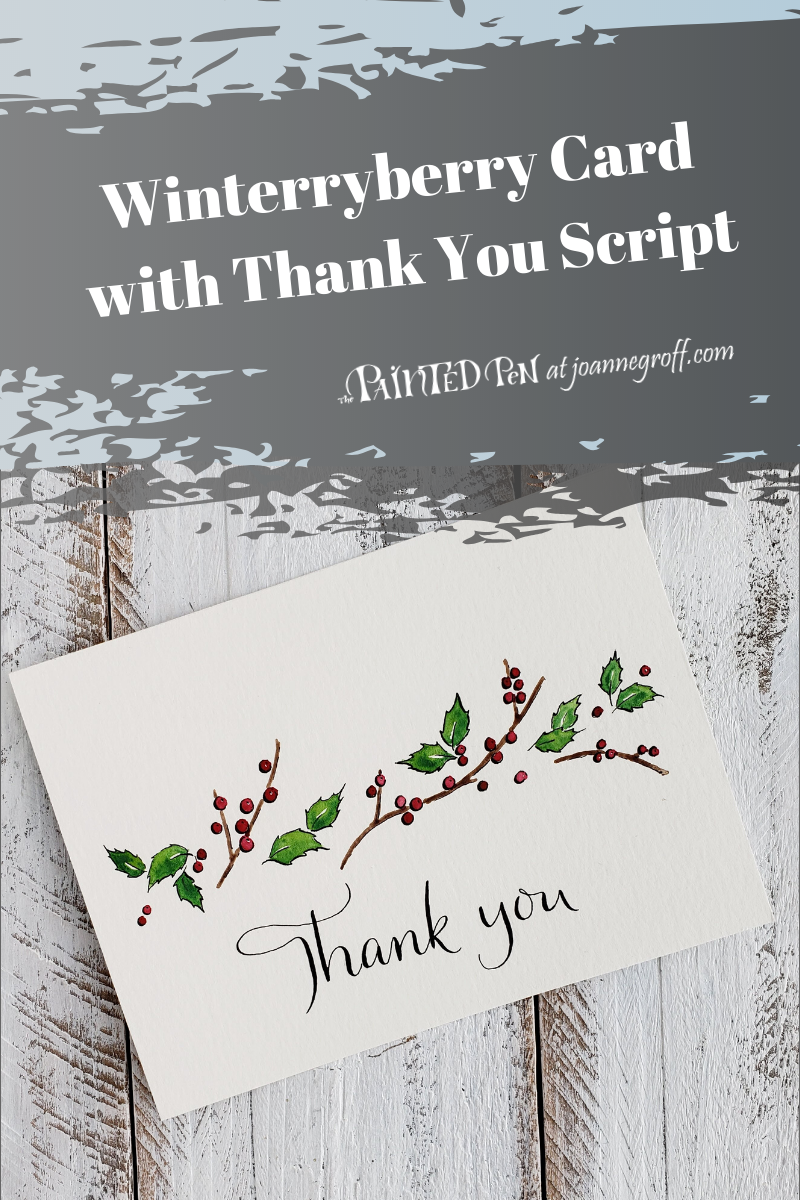
A hand painted winter card with thank you script will make your card memorable.
The Christmas season is long gone, but some of you are still writing thank you notes for the gifts you received or to the people who impact your life. Holidays help us remember to stop and think, to take time to say how we appreciate other people … family, friends, co-workers, clients.
When we show others we care, it makes an impression.
It’s the middle of winter here. Hardened snow crusts over the ground. Trees stand tall and bare. Grass waits under the snow in muted colors. Everything is on hold, resting. And yet, it’s in this sleeping time that winterberries show off the most. Their pop of color dazzles against the surrounding white and brown.
Winterberries aren’t just a Christmas joy for me. I decorate with them all winter long, even after the berries dry I leave them in their vases. The deep red berries on the brown branches shout color at a time when the world wishes for it … when I wish for it.
It’s this feeling that I want to put into some thank you cards to pass a pop of color and appreciation to someone who needs it. I want these winter cards to have a memorable impact.
So, today, I’ll show you how to make your own winterberry card. Then, we’ll add some thank you script. I even have a worksheet with several different thank you script styles for you to try. (All free worksheets are available to email subscribers in the Resource Library. When you sign up, I’ll send you the password.)
What you need:
Basic Watercolor Supplies (Paint, Brush, 140lb. Paper)
Pencil of choice
Ruler, optional
Water and Paper towel
Let’s get started!
I like to cut my watercolor paper (9”x12”) into quarters to make thank you cards. You will end up with a piece about 4.5”X6”. This will make one flat card or you can attach it to a prefolded 5”x6.5” piece of cardstock for a folded card.

Next, sketch some holly leaves and sticks across the middle of the watercolor paper, horizontally. Add winterberries on the sticks and randomly scatter some on the page. I like to add a rough sketch of my lettering, as well. All of this sketching helps your muscles warm up to the movement and shapes, and it helps me prevent the “I’m going to mess up” feeling I get when I work with ink and paint.

Trace over your holly and winterberry sketches with your dip pen and ink. If the holly feels too much like Christmas, just fill your card in with more winterberry branches.
Add a little shadow to one side of the leaves and branches by applying some pressure to the nib in those areas and leave some of the highlighted areas without ink. I usually wait to write any lettering until after I paint. It doesn’t really matter. I just like to focus on one piece at a time.

When the ink dries completely (wait at least an hour), erase the pencil lines.

Now, it’s time to add color.
As I paint the shapes, I randomly leave a white section (near a leaf line or as a shiny spot on a berry) to add extra character. This isn’t necessary. It’s just something I like to do.
When painting leaves, I paint the whole leaf in a lighter green. Then, while it’s still wet, I dab a darker green on the parts of the leaves that I want a bit of shadow. I demonstrate this in the video below. Again, this is a preference thing, not a necessity.
If you would like a breakdown for the holly leaves, here are the steps I take when I draw holly leaves.
- Make the basic leaf shapes.
- Add spikes to the leaves.
- Add ink. Dry. Erase pencil lines.
- Add color.

Finally, add some thank you script.
There are so many styles of lettering. How do you pick just one? Try several styles before you commit one to your card.
I’ve created a free printable with several styles of thank you script to help you think of ideas. Use them as a jumping off point to explore your own styles. (Free worksheets are found in the Resource Library. Email subscribers get the password!)
If you’d like even more Thank you lettering ideas, try the Thank you Lettering Idea Worksheet set. In it, you’ll find over 50 different ways to write Thank you in lettering and calligraphy styles.

Now, your card is done. It’s sure to make a lasting impression.

Thanks for following along! I hope you’re enjoying the journey. If you have any questions, feel free to drop me an email!
Happy creating!

If you want to watch the rest of the painting in action, here is a short video.
Joanne Groff
Just a brainy creative with a fascination about how people think and understand. I use watercolor and letter design to encourage connection ... with self, the environment, and especially the people who live there.


2 Comments
Deb Yilek
This looks lovely. The instructions have everything I need. I can’t wait to try it! Deb
Joanne Groff
I’m glad to hear that the tutorial has everything you need. I was a little worried it’s too Christmas, but I do love a pop of color in winter. Enjoy creating!